TTS Automation for Developer Workflows
Text-to-speech (TTS) automation lets you convert text, Markdown files, and technical documentation into natural-sounding audio directly from your terminal. It’s fast, efficient, and helps improve accessibility for over 1 billion people globally. Tools like TTSBuddy CLI simplify this process by handling complex layouts, Markdown elements, and large-scale requests (up to 500,000 characters) with minimal setup.
Here’s what you need to know:
- Why it matters: TTS automation saves time, supports accessibility compliance (like WCAG 2.1 standards), and eliminates manual audio conversion.
- What you need: Install TTSBuddy CLI, set up an API key, and you’re ready to generate audio files in formats like MP3, WAV, and more.
- How it works: Use simple commands to convert text or Markdown into audio. AI sanitization ensures smooth narration, even for technical content.
- Advanced uses: Integrate TTS into scripts, CI/CD pipelines, or use the REST API for asynchronous tasks.
Whether you're creating accessible applications, converting documentation, or embedding speech synthesis into workflows, TTS automation is a practical solution for developers. Let’s dive in.
Installing and Configuring TTSBuddy CLI
Installing TTSBuddy CLI
TTSBuddy CLI is a standalone tool available for macOS, Linux, and Windows, and it doesn't require extra dependencies to work.
For macOS users, the easiest way to install it is through Homebrew. Just open your terminal and run:
brew install ttsbuddy
This will add the tool to your system's PATH automatically.
For Linux and Windows, you can install it using Go by running:
go install github.com/ttsbuddy/cli@latest
If you'd rather not use Go, you can download the binary directly from ttsbuddy.com. After downloading, place the binary in a directory that's already part of your system's PATH.
To confirm that the installation was successful, run:
ttsbuddy --version
This will display the current version of the CLI, letting you know it's ready to use. Once installed, you'll need to set up your API key for secure access.
Setting Up API Authentication
To use TTSBuddy CLI, you'll need an API key from your TTSBuddy account. If you don’t already have an account, head over to ttsbuddy.com to create one for free. You can sign up with your email or use a Google or GitHub account.
After logging in, go to your Dashboard, where you can manage your audio files and developer settings. You'll find your API key displayed there. Copy it, then set it as an environment variable by adding this line to your shell configuration file (e.g., .bashrc or .zshrc):
export TTSBUDDY_API_KEY=your_key_here
Using an environment variable makes it easier to integrate the API into scripts or CI/CD workflows. If you prefer, you can also include the key directly in commands with the --api-key flag or save it in a configuration file that TTSBuddy will automatically detect.
With the free plan, you'll get 120 minutes of text-to-speech per month, access to three languages, and full API and CLI functionality. This makes it a great starting point for testing and small-scale projects.
Converting Text and Markdown Files to Audio
Basic Text-to-Speech Commands
TTSBuddy makes it easy to turn text into speech. You can pipe text directly into the tool using standard input and save the output as an audio file with the -o flag. Here's an example:
echo "This is a test of the text-to-speech system" | ttsbuddy -o test.mp3
This command creates an MP3 file named test.mp3 in your current directory. If you want the audio data streamed to stdout - perhaps to pass it into another program - just skip the -o flag and redirect the output as needed. For developers, TTSBuddy can also return JSON output, which includes metadata like the audio URL, duration, and character count.
TTSBuddy’s functionality extends to processing Markdown files, making them ready for natural speech playback.
Processing Markdown Files
TTSBuddy is designed to handle Markdown files intelligently, ensuring the content sounds natural when spoken. Its AI sanitization feature transforms tables into spoken descriptions, converts bullet points into cohesive narratives, and decides whether to describe or skip code blocks based on their context [2]. Headers are treated with appropriate pauses and emphasis, while URLs are either simplified or omitted entirely for clarity.
To convert a Markdown file, use the -f flag to specify the input file and the -o flag for the output:
ttsbuddy -f documentation.md -o documentation.mp3
For lengthy documents, processing times can vary. If you're dealing with a very large file, consider splitting it into sections or chapters. This approach not only speeds up processing but also results in smaller, more manageable audio files.
Choosing Output Formats
TTSBuddy provides several audio format options to suit different needs. Supported formats include mp3, opus, aac, flac, wav, and pcm [3]. By default, the output is in MP3 format, but you can specify another format using the -fmt flag. Additionally, you can adjust the narration speed with the -s flag, which ranges from 0.25 to 4.0 (default is 1.0) [3]. Here's an example:
ttsbuddy -f report.md -fmt wav -o report.wav
Make sure the file extension matches the format you choose. For batch processing, you can combine multiple text files into one continuous audio file using the -c flag. To prevent playback clipping during transitions, add the -b flag for buffer words [3].
Integrating TTSBuddy into Scripts and CI/CD Pipelines
Using TTSBuddy in Shell Scripts
To make your scripts more reliable, ensure they exit immediately on any error by using set -euo pipefail. This helps catch failures right away. TTSBuddy provides specific exit codes: 0 for success, 1 for configuration or network issues, and 2 for invalid arguments [9].
For handling temporary network problems, wrap TTSBuddy CLI calls in an exponential backoff retry mechanism [7]. This not only protects your credentials but also ensures your scripts can run smoothly across different environments [5][8].
If you're working with large documents, split them into smaller sections of 30,000–50,000 characters for faster processing [7]. While TTSBuddy supports requests up to 500,000 characters, breaking them down can significantly improve efficiency [2].
To make scripts adaptable, use conditional logic to detect if they're running in an interactive terminal or a non-interactive setting (like Cron). You can test this with [[ -t 0 ]] and toggle quiet mode flags based on the context [6]. For batch jobs, it’s a good idea to disable real-time notifications during loops and send a single summary notification once the entire batch finishes. This approach helps optimize performance [6].
These scripting methods can be easily adapted for use in CI/CD workflows.
Adding TTSBuddy to CI/CD Workflows
When integrating TTSBuddy into CI/CD pipelines, the quiet mode becomes particularly useful. It ensures that builds don't hang due to interactive prompts or attempts to play audio [6]. For platforms like GitHub Actions or Jenkins, always use flags to disable interactive behavior.
Store your API key securely in your CI/CD platform's secret manager instead of embedding it directly in your code [5][8]. If your workflow involves committing generated audio files back to the repository, include [skip ci] or [ci skip] in the commit messages. This prevents triggering an endless build loop [9].
Although most audio files are processed within 10–30 seconds, texts exceeding 100,000 characters may take several minutes. Make sure to set appropriate timeout values in your pipeline steps [2]. Also, TTSBuddy's AI sanitization feature automatically handles Markdown tables and code blocks, so there's no need for additional text-cleaning steps in your automation [2].
Using Advanced Features and the REST API
Working with Advanced CLI Features
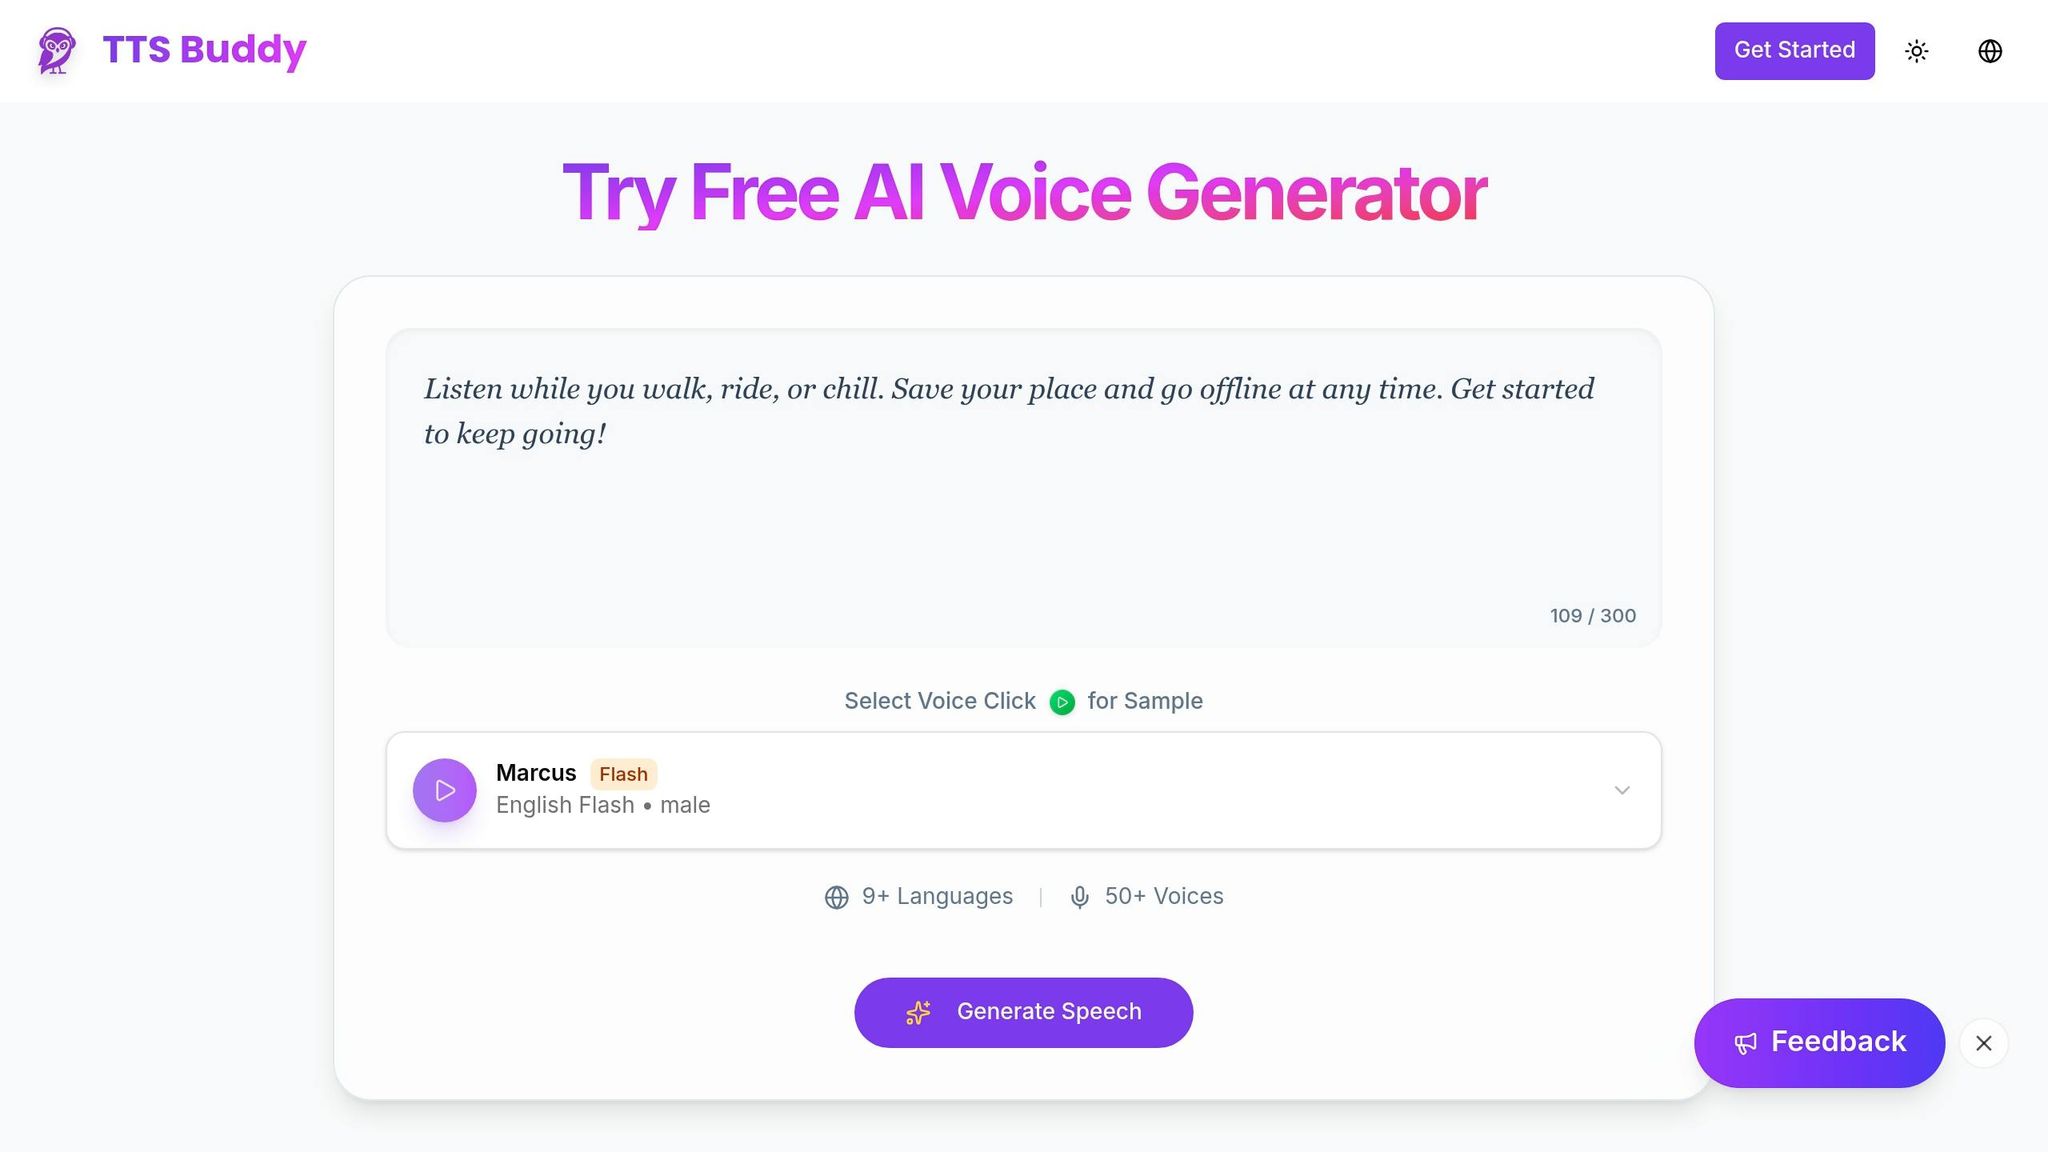
TTSBuddy offers a range of advanced features that go beyond the basics, including 300+ voices in 30+ language modes. Among these are Flash voices, which process audio 5–10 times faster than regular voices. These faster options are perfect for scenarios like real-time applications or when developers need rapid iterations.
The platform also integrates AI sanitization, making it easy to handle Markdown elements during processing. On top of that, you can adjust playback speeds between 0.5× and 1.5×, which is especially handy for tasks like language learning or reviewing complex technical content. The output is delivered as high-quality WAV files, ensuring professional-grade results [2].
While these CLI features are robust, the REST API takes automation to another level by offering an asynchronous method to manage TTS tasks within your applications.
Automating with the REST API
The REST API simplifies TTS automation, integrating seamlessly into your workflows. Every TTSBuddy account includes access to the /v1/agent-tts endpoint [11]. To ensure secure communication, all requests must include an X-API-Key header, authenticated using SHA-256 hashing [10]. You can generate API keys from your account dashboard and use them either as Bearer tokens or directly in the request header [10].
When submitting a job, the API operates asynchronously. A POST request with your text and voice parameters to the creation endpoint will return a jobId with a PENDING status [11]. You can track its progress by polling the status endpoint. Keep in mind that rate limits apply: 1 submission per minute and 30 status checks per minute.
For production environments, it's best practice to implement token revocation mechanisms to handle compromised credentials. Additionally, using Bearer tokens instead of basic authentication adds an extra layer of security by reducing the risk of interception [10].
Conclusion
TTSBuddy simplifies text-to-speech (TTS) automation, allowing developers to create audio files in less than 5 minutes without any upfront costs. It supports requests of up to 500,000 characters, making it ideal for producing comprehensive documentation, such as entire chapters [4][2].
The platform's built-in AI sanitization eliminates the need for manual text adjustments by transforming Markdown elements into smooth, natural narration [2].
For organizations aiming to meet accessibility requirements, TTSBuddy helps achieve compliance with WCAG 2.1 Level AA standards - a legal mandate for large U.S. municipalities by April 24, 2026 [1]. With 300+ voices across 30+ language modes, it also caters to a global audience, enabling multilingual audio content for over 1 billion users [1][2].
TTSBuddy integrates effortlessly into shell scripts, CI/CD pipelines, or REST API workflows. It generates audio in just 10–30 seconds and leverages Flash voices to deliver output 5–10 times faster [4][2]. Combining speed, advanced AI automation, and accessibility features, TTSBuddy stands out as a reliable and efficient TTS solution for developers.
FAQs
How do I pick the best voice and speed for technical docs?
When working with technical documents, picking the right voice and speed is crucial for clarity and professionalism. Here's how you can make the best choice:
- Pick a clear, natural voice: The voice should match the tone of your content. Preview different options to ensure it feels appropriate for the material.
- Adjust the speech speed: Stick to a normal pace (1.0x) for most sections. Slow it down for complex or detailed parts, and speed it up slightly for summaries or overviews.
- Test the final output: Always review the results to confirm that the voice and speed work together to deliver a clear and professional experience that's easy to understand.
By fine-tuning these elements, you can create technical content that's both engaging and accessible.
What’s the best way to handle very large Markdown files?
To convert large Markdown files into audio using text-to-speech tools like TTSBuddy, start by addressing complex formatting such as tables, lists, or code. These tools can preprocess such elements to make the narration smoother. If the file is too large, break it into smaller sections, process each one individually, and then merge the audio files. This approach helps maintain both efficiency and high-quality audio output.
How can I secure my API key in scripts and CI/CD?
To safeguard your API key in scripts and CI/CD pipelines, never hardcode it directly into your code. Instead, rely on environment variables or secret management tools offered by your CI/CD platform. For instance, you can securely store credentials in environment variables or repository secrets, then reference them in your workflows. This approach keeps sensitive information protected and ensures it's only accessible during runtime.