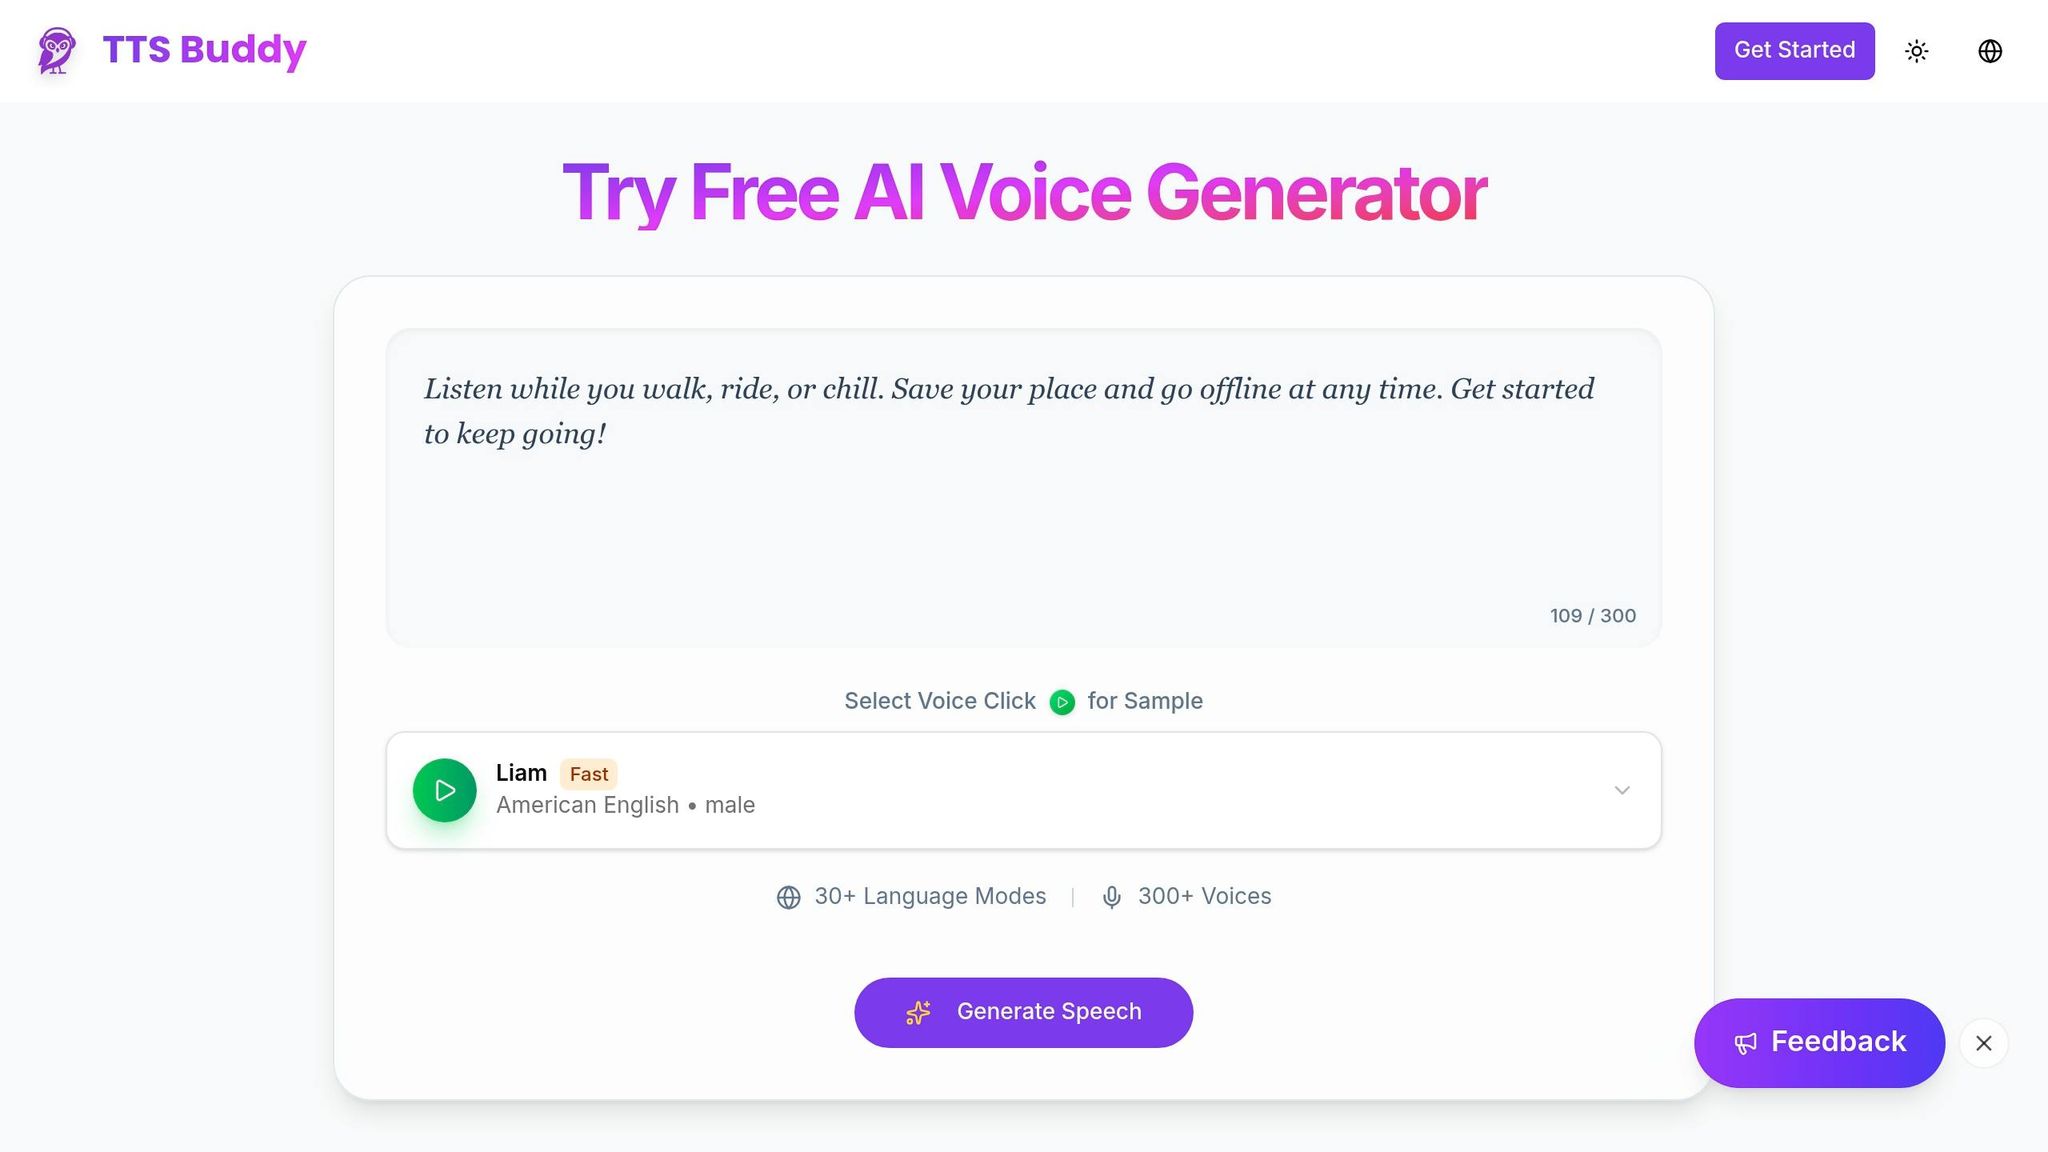
TTSBuddy CLI: 10 Daily Workflow Uses
Want to save time and make your workday more efficient? TTSBuddy CLI is a text-to-speech tool that converts text files into audio directly from your terminal. It supports Markdown, offers over 58 AI voices in 14+ languages, and even includes Flash voices for faster audio generation. Whether you’re multitasking, automating workflows, or improving accessibility, this tool fits into almost any routine.
Key Use Cases:
- Convert Markdown to audio: Turn documentation, notes, or articles into listenable MP3s.
- Create audio playlists: Batch-process daily reading materials into portable audio files.
- Narrate technical documents: Listen to specs and manuals while on the move.
- Share meeting updates: Generate audio summaries for asynchronous team communication.
- Add audio to blogs: Enhance accessibility by offering narrated versions of web content.
- Automate workflows: Integrate TTSBuddy into shell scripts and CI/CD pipelines.
- AI tool integration: Use TTSBuddy with AI agents for seamless text-to-audio tasks.
- Multilingual content: Create study materials or practice languages with native-sounding voices.
- Personal briefings: Combine weather, tasks, and reminders into a daily audio summary.
- Listen while working: Convert manuals and books into audio for background listening.
Pricing starts at $9.99/month for 1,200 minutes, with an unlimited plan available for $49.99/month. TTSBuddy is cross-platform, making it easy to use on macOS, Linux, and Windows.
Follow our Quick Start Guide to learn more about how this tool can simplify your workflow.
1. Convert Markdown Files to Narrated Audio for Multitasking and Accessibility
If you're someone who works with Markdown files - like documentation, README files, or notes - TTSBuddy CLI can transform them into clear, listenable audio with just one command. It’s as simple as this:
ttsbuddy input.md output.mp3
No need to worry about cleaning up your text beforehand. TTSBuddy handles it for you.
The tool's built-in Markdown preprocessing ensures a smooth listening experience by automatically adding natural pauses for headers, turning bullet points into complete sentences, describing tables, and deciding whether to narrate or skip code blocks based on the context. Even complex URLs are simplified to avoid breaking the flow of the audio.
"This happens automatically - you don't need to manually clean up your text." - TTSBuddy Documentation [4]
The CLI is impressively fast, converting up to 500,000 characters in just 10–30 seconds. For larger files - anything over 100,000 characters - it’s recommended to break them into chunks of 30,000–50,000 characters to maintain speed and avoid timeouts [1][4][3]. You can also adjust playback speed using the --voice flag, with options ranging from 0.5x (ideal for dense, technical material) to 1.5x for quicker reviews. The default setting is 1.2x [4].
This tool isn't just about convenience - it’s also about accessibility. By converting static text into portable audio, TTSBuddy makes content more accessible for people with visual impairments, dyslexia, or other reading challenges. Whether you’re on the move, working out, or simply need to rest your eyes, TTSBuddy lets you take your Markdown files anywhere [5]. The tool also offers PDF support for converting documents into audio.
2. Build Audio Playlists from Daily Reading Materials
Turn your daily reading - articles, reports, and documents - into an audio playlist to save time and simplify your routine. Instead of reading each file manually, you can batch-convert them into MP3 files and queue them up for playback. Here’s a Bash script to help you get started:
for file in ~/daily-reading/*.md; do
  filename=$(basename "$file" .md)
  ttsbuddy "$file" ~/audio-playlist/"$filename".mp3
done
This script processes all Markdown files in your ~/daily-reading folder, converting them into MP3s with matching filenames using TTSBuddy. Run it every morning to create your audio playlist. For faster results, use Supertonic Fast voices (st_f1–st_f5 for female voices, st_m1–st_m5 for male voices), which significantly cut down generation time [1].
To avoid unnecessary processing, add a step to skip files that already have audio versions. This prevents redundant API calls and helps manage your usage limits efficiently [1].
Once the MP3s are ready, save them to a synced cloud folder - like Dropbox or OneDrive - so your playlist is instantly available on your phone. TTSBuddy also syncs audio across its web, iOS, and Android apps, letting you start listening on one device and continue seamlessly on another. The generated files are standard MP3s with bitrates of 128–192 kbps, making them compatible with virtually any media player.
Next, learn how TTSBuddy CLI can make technical reviews faster by narrating specs and documentation.
3. Speed Up Technical Reviews by Narrating Specs and Docs
Reviewing long technical documents can be mentally exhausting. With TTSBuddy CLI, you can turn those documents into audio files, letting you listen while stretching, walking, or simply resting your eyes - all without missing any important details.
The tool automatically cleans up the content during conversion by removing code fences, links, images, and Markdown formatting. This means you get a polished audio version without needing to edit anything manually [6]:
ttsbuddy ~/docs/api-spec.md ~/audio/api-spec-review.mp3
For technical material, you can enhance the experience by using Premium Kokoro voices and customizing the tone with the --instructions flag. For example, you might specify a "calm, professional tone with clear pronunciation" to make the narration easier to follow [2]:
ttsbuddy --instructions "calm, professional tone, clear pronunciation" ~/docs/api-spec.md ~/audio/api-spec-review.mp3
Playback speed is another handy feature. You can adjust it anywhere from 0.25x to 4.0x. If you're reviewing something unfamiliar, slowing it down to 0.5x–0.8x can help you absorb the details. For more familiar content, speeding up to 1.2x–1.5x lets you breeze through the material [2].
Although TTSBuddy uses OpenAI TTS, which doesn’t support SSML, you can control the narration's pacing with punctuation. For instance:
- Use ellipses (
…) for longer pauses to separate complex ideas. - Use em dashes (
-) for shifts in tone. - Break content into paragraphs for clear sectioning [6].
For automated workflows, you can standardize the voice and model by setting OPENAI_TTS_VOICE and OPENAI_TTS_MODEL. This ensures consistency in voice and tone across all your automated reviews [6].
4. Turn Meeting Notes and Summaries into Audio for Async Updates
Distributed teams often struggle with keeping everyone in the loop without overloading calendars with meetings. Here's where TTSBuddy CLI steps in - it transforms your Markdown meeting notes into shareable audio files with just one command:
ttsbuddy ~/notes/standup-2026-05-28.md ~/audio/standup-2026-05-28.mp3
This tool processes your notes to create clear and concise audio updates, ensuring everyone stays informed without needing to attend yet another meeting.
For faster internal updates, you can use Flash voices like Marcus or Michael, which can generate audio 5–10 times quicker [7]. Just add the --voice flag to specify the voice you want:
ttsbuddy --voice Marcus ~/notes/standup-2026-05-28.md ~/audio/standup-2026-05-28.mp3
If your team keeps meeting notes in a shared folder, you can even batch-convert an entire directory with a simple shell script. Combine this with JSON output mode to seamlessly integrate file paths into Slack or cloud storage workflows. This flexibility makes TTSBuddy CLI a powerful tool for improving asynchronous communication. For longer meetings, consider breaking the audio into 15–20-minute segments to make it easier to digest.
Here’s a tip: format your notes using a consistent structure, such as Subject, Participants, Topics Discussed, Decisions, and Action Items, with clear H1 and H2 headers. This ensures the audio has a logical flow, making it perfect for listening during a commute or a quick break [8].
5. Add Narrated Audio Versions to Blog Posts and Web Articles
Adding an audio version to your blog posts or articles makes your content easier to access. It’s especially helpful for people who are visually impaired, prefer listening over reading, or like to multitask. With TTSBuddy CLI, you can create an audio version in seconds using a single command.
Here’s how it works: save your article as a Markdown file, then run this command:
ttsbuddy post.md post.mp3 --voice madison
TTSBuddy automatically optimizes the formatting to ensure the audio sounds smooth and natural.
Adjusting Speed and Voice
Want to change the pacing of the narration? Use the --speed flag to adjust the playback speed. A natural-sounding range falls between 0.7x and 1.2x.
Here are some commonly used flags:
| Flag | Description | Example |
|---|---|---|
--voice | Choose a specific AI voice | ttsbuddy post.md post.mp3 --voice madison |
--speed | Set playback speed (0.5x to 1.5x) | ttsbuddy post.md post.mp3 --speed 1.2 |
--check-api | Verify API key and check quota | ttsbuddy --check-api |
Structuring for Audio
To make the audio version even more user-friendly, organize your article with clear H2 headers (##). This structure allows you to process each section individually and even create separate audio files for different parts. It’s perfect for long posts where listeners might want to skip to specific sections.
For reference, natural speech typically runs at about 2 to 3 words per second. So, a 1,000-word article will result in around 6 to 8 minutes of audio - just the right length for a quick listen.
Next, you’ll see how TTSBuddy CLI can be integrated into shell scripts to automate this process effortlessly.
6. Add TTSBuddy CLI to Shell Scripts and Automation Pipelines
You can integrate TTSBuddy CLI into your shell scripts and CI/CD pipelines with ease. Designed for scripting, it features structured exit codes, a JSON output mode, and idempotency support, making it dependable for automated workflows. Whether you're running one-off scripts or building complex pipelines, it fits right in.
Start by storing your API key securely. Add it as an environment variable in ~/.bashrc or ~/.zshrc using TTSBUDDY_API_KEY. This keeps your credentials out of the scripts themselves. To streamline pipeline logs, use the --quiet flag to suppress status messages, ensuring only the final result appears.
For batch processing, a simple for loop can handle directories full of Markdown files. To speed up conversions, use Flash voices like st_m1 or st_f1, which are optimized for faster processing - especially useful when dealing with large sets of files.
Need structured data for further automation? The --json flag outputs details that can be piped into tools like jq. This includes fields like:
| JSON Field | Description | Use Case |
|---|---|---|
audio_url | Temporary link to the audio file | Download or deploy the generated audio |
duration_seconds | Length of the audio file | Useful for metadata or podcast feeds |
billing | Remaining monthly minutes | Monitor usage directly in CI logs |
job_id | Unique task identifier | Poll for status on long-form text jobs |
TTSBuddy also uses exit codes to signal success or issues: 0 for success, 1 for configuration or network problems, and 2 for invalid arguments. This ensures your scripts can handle errors gracefully. For added reliability, use an idempotency key - a hash of file content, voice, and speed settings. If the same job is submitted again, TTSBuddy will return the existing result without reprocessing, preventing duplicate charges or wasted time [1].
Finally, include set -euo pipefail at the top of your script for better error handling and a more robust pipeline.
7. Connect TTSBuddy CLI to AI Agents and Developer Tools
If you're already using shell scripts and automation pipelines with TTSBuddy, the next step is integrating it into your AI workflows. TTSBuddy's API is based on the Model Context Protocol (MCP), an open standard that allows AI tools like Claude, Cursor, and Windsurf to directly interact with external tools - no need for manual copy-pasting or switching between contexts [9].
At the core of this integration is the ttsbuddy_speak tool definition. AI agents can use it to generate audio directly through conversational commands. For instance, a developer working with Cursor could prompt an agent with something like, "Create an audio version of this article in a calm female voice," and the agent will handle the API call automatically [9]. The MCP tool supports a text parameter of up to 500,000 characters, along with optional settings for voice, speed, and language [1]. This setup makes it easy to integrate with your existing tools without hassle.
"The real power of MCP is that it turns multi-step workflows into single conversations." - AI TTS Microservice Team [9]
For Claude Desktop users, start by configuring the MCP server settings in the claude_desktop_config.json file. You'll need to define the command, arguments, and include your TTSBUDDY_API_KEY as an environment variable. For server-side AI agents, direct requests to the /v1/agent-tts or /api/v1/mcp endpoints [1][9].
In fast-paced AI workflows, efficiency is key. Use Flash voices - voice IDs starting with st_ (e.g., st_m1 or st_f1) - to speed up processing [1]. For tasks requiring immediate audio playback, set delivery_mode: "stream". This generates a one-time streaming URL for quick access while the full audio processes in the background [9]. To avoid duplicate charges or processing errors, include an Idempotency-Key header in your requests [1].
Up next: discover how to create multilingual study materials using TTSBuddy CLI.
8. Create Study Materials and Language Practice Audio with Multilingual Voices
Studying for an exam or diving into a new language? With TTSBuddy CLI, you can turn study materials into engaging audio files. Featuring over 58 neural AI voices across 14+ languages, this tool lets you create audio content in Spanish, Japanese, French, Chinese, Hindi, and more - using voices that sound like native speakers. Plus, you can fine-tune playback speed and choose native-sounding voices to make language practice more effective.
The secret to optimizing this for language learning lies in the --speed flag. As explained in TTSBuddy's documentation:
"Choose a voice in the language you're learning. Use Slow (0.8x) or Very Slow (0.5x) speeds to help with pronunciation." - TTSBuddy Documentation
By selecting a native-sounding voice and adjusting the playback speed, you can tailor the audio to your learning pace. For example:
- 0.5x speed: Ideal for focusing on pronunciation details.
- 0.8x speed: Great for comprehension practice.
- 1.0x speed: Perfect for natural, conversational listening.
For Spanish learners, voices like Valentina, Alejandro, and Diego offer authentic intonation. Japanese learners might prefer Yuki, Sakura, or Hiroshi, while French learners can rely on Camille for a natural accent.
Need to process large vocabulary lists? Flash voices can speed up batch generation, creating example sentences and audio files quickly.
TTSBuddy CLI’s multilingual functionality doesn’t just stop at language learning - it’s a powerful productivity tool. For instance, you can use a shell script to convert Markdown vocabulary notes into a daily listening playlist. By sticking with a consistent voice and speed, you create a "tutor" effect, reinforcing retention and building familiarity. This feature fits seamlessly into TTSBuddy’s broader goal of providing user-focused, efficient workflows.
9. Build a Personal Daily Briefing with Weather, Tasks, and Reminders
Imagine starting your day with a custom audio briefing that pulls together the weather forecast, your tasks, and reminders. Here's how you can set it up using the command line.
To create this personalized briefing, you can combine text from various sources and feed it directly into TTSBuddy CLI. Here's an example command:
{ curl -s wttr.in/?format=3; echo; cat tasks.txt; cat reminders.txt; } | ttsbuddy --stdin --out briefing.mp3
This approach uses ellipses and em dashes to add natural pauses and shifts in tone, making the audio flow smoothly.
Automation takes this a step further. By scheduling a cron job or a systemd timer to run at 5:00 AM, you can ensure your briefing is ready when you wake up. As Bronson Elliott aptly said:
"The common problem: every option assumed I wanted to read. What if I didn't want to read?" - Bronson Elliott [10]
To make the audio output easier to understand, preprocess symbols in your text before converting it. For example, you can use a simple sed command to transform "$42.50" into "forty-two dollars and fifty cents." Thanks to TTSBuddy's idempotency, you can safely retry the process if needed.
This example highlights how TTSBuddy CLI can simplify your daily routine, much like the other use cases we've explored.
10. Listen to Books and Manuals in the Background While You Work
Technical manuals and non-fiction books are packed with useful information, but finding time to sit down and read during a busy day can feel impossible. That’s where TTSBuddy CLI comes in. It lets you transform those documents into audio files, so you can listen while coding, exercising, or tackling everyday tasks.
The process is simple. Just use the following command:
ttsbuddy --file manual.md --voice madison --speed 1.0 --out manual_audio.mp3
Once your file is converted, selecting the right voice is key for long listening sessions. TTSBuddy’s documentation suggests using Premium Kokoro voices for their natural intonation and expressive delivery. For example:
"Choose a warm, conversational voice like Madison or Sophia. You'll be listening for a while, so comfort matters." - TTS Buddy Documentation [2]
These voices are designed to hold your attention, even for hours of playback, making them a better fit for dense material compared to Basic or Standard options. Playback speed also makes a big difference. Stick to 1.0x for books or unfamiliar topics, slow it down to 0.8x for complex technical details, and speed up to 1.2x for content you already know well.
If you’re working with lengthy manuals, TTSBuddy can handle files up to 500,000 characters per request. However, splitting your document into chunks of 30,000–50,000 characters keeps the process quicker and avoids potential timeouts. The CLI also remembers your last-used voice and speed settings, so you don’t have to re-enter them for every chapter. That little bit of automation can save a lot of time when you’re navigating multi-chapter documents.
Conclusion
These 10 examples highlight how audio-driven workflows can save time, ease screen fatigue, and make content more accessible. Whether you're a developer automating the review of documentation, a student curating study playlists, or a professional catching up on meeting notes during a morning jog, the TTSBuddy CLI seamlessly integrates into your daily routines.
What sets TTSBuddy CLI apart isn't just one standout feature - it's the way it combines ease of use with flexibility. Whether you're scripting complex pipelines or running simple one-liner commands, this tool transforms text into audio effortlessly, fitting into workflows across various fields and professions.
Studies indicate that listening can boost memory retention, while increasing playback speed to 1.5x–2x allows users to process up to 375–500 words per minute without sacrificing understanding [11]. This can be a game-changer when tackling dense technical content or keeping up with rapidly evolving industries.
"AI won't take your job; someone who uses AI will." - Dr. Guan, Interim Dean, University of Louisiana [12]
FAQs
How do I install and authenticate TTSBuddy CLI?
To get started with TTSBuddy CLI, you can install it using a package manager like pnpm, dotnet, or npm, depending on the version you're working with. Once installed, you'll need to authenticate by setting your API key in either an environment variable or a configuration file. Here's how:
- Using pnpm: Run
pnpm add -g text2speakto install. Then, add your API key by includingOPENAI_API_KEY=your-key-herein the~/.text2speak/.envfile. - Using dotnet: Install with
dotnet tool install -g GeminiTtsCli. Set your API key by configuringGEMINI_API_KEYin your environment.
This setup ensures the CLI is ready to use with the proper authentication.
What’s the best way to handle very large Markdown files?
To handle very large Markdown files with TTSBuddy, break the content into smaller sections containing 30,000–50,000 characters. This helps avoid problems with files exceeding the 100,000-character limit. For extensive documentation or larger files, consider using the llms-full.txt file for easier management. If you're dealing with PDFs or scanned documents, extract the text first and divide it into manageable pieces before starting the conversion process. This ensures smoother and more efficient processing.
How can I automate batch audio generation without wasting minutes?
To speed up batch audio generation using TTSBuddy CLI, opt for Flash voices like Marcus. These voices can process audio 5–10 times faster than standard options. Simply include the --voice flag in your command, like this:
ttsbuddy input.md output.mp3 --voice Marcus
For larger projects, it's a good idea to split your text into smaller sections - around 30,000–50,000 characters - to ensure consistent processing speed. If you're handling high-volume tasks, the REST API is a great alternative for asynchronous processing.