TTSBuddy CLI: Voices, Pipes & Automation

TTSBuddy CLI is a cross-platform text-to-speech tool that converts text or Markdown files into AI-generated audio directly from your terminal. With 58+ neural AI voices in 14+ languages, it offers extensive customization, including voice selection, speed adjustments, and multiple output formats like MP3, WAV, and JSON. Designed for developers, accessibility users, students, and professionals, it supports automation, stdin inputs, and batch processing for streamlined workflows.
Key Features:
- Works on macOS, Linux, and Windows.
- Handles up to 500,000 characters in one request.
- Outputs audio in MP3, WAV, FLAC, OGG, or OPUS formats.
- Offers JSON output for automation and scripting.
- Supports piping and streaming for flexible workflows.
- Includes Flash voices for faster processing.
Getting Started:
- Install via Homebrew (macOS), GitHub binaries (Linux/Windows), or Go.
- Set up your API key (
TTSBUDDY_API_KEY) for access. - Use commands like
ttsbuddy input.md output.mp3to convert text to audio.
This tool is ideal for creating accessible content, automating audio workflows, and converting documents into speech for hands-free consumption. Whether you're a developer integrating it into scripts or a student turning notes into audio, TTSBuddy CLI simplifies text-to-speech tasks with powerful features and straightforward commands.
Getting Started: Installation and Configuration
Setting up TTSBuddy CLI correctly ensures you can take full advantage of its features, including automation, voice customization, and more.
Supported Platforms and How to Install
TTSBuddy CLI works seamlessly on macOS, Linux, and Windows, with straightforward installation steps for each platform.
-
macOS: Use Homebrew by running the command:
brew install ttsbuddy. -
Linux: Download the
amd64.tar.gzbinary from GitHub, extract it, and move the binary to/usr/local/bin/. Then, make it executable using:
chmod +x /usr/local/bin/ttsbuddy. -
Windows: Download the
amd64.zipfile from GitHub, extract it to a directory likeC:\ttsbuddy\, and add this directory to your system's PATH environment variable.
If you already have Go 1.21 or later installed, you can also install TTSBuddy directly with:
go install github.com/ttsbuddy/cli@latest.
Once installed, verify everything is working by running:
ttsbuddy --version. This confirms the binary is in your PATH and ready to use.
Setting Up Your API Key
Every TTSBuddy account, even the free plan, includes API access. Your API key, which starts with ttsb_, can be found in your account dashboard. To use it, store the key as an environment variable named TTSBUDDY_API_KEY.
-
macOS/Linux: Add the following line to your
~/.bashrcor~/.zshrcfile:
export TTSBUDDY_API_KEY="ttsb_yourkey"
Then, update your session by running:
source ~/.zshrc. -
Windows: Use PowerShell to set the variable or configure it through the environment variable settings in the Control Panel.
You can confirm the API key is properly configured by running:
ttsbuddy --check-api. This command not only verifies the key but also displays your remaining quota. For automated workflows, consider storing the key in a .env file and rotating it monthly for security.
With your API key set up, you're ready to dive into TTSBuddy CLI's capabilities.
Basic Configuration Options
Once your API key is configured, you can customize TTSBuddy's defaults to suit your needs. Below are some of the most commonly used options:
| Option | Flag | Default | Range / Options |
|---|---|---|---|
| Voice | --voice | af_heart | 300+ IDs (e.g., madison, marcus) |
| Speed | --speed | 1.2 | 0.5 to 1.5 |
| Output Format | - | .mp3 | .mp3, .wav, .flac, .ogg, .opus |
| Language | --language | en | 30+ codes (e.g., fr, de, es) |
TTSBuddy prioritizes settings in this order: command-line flags override everything, followed by environment variables, and then configuration files. This hierarchy allows you to set up reliable defaults while still making quick adjustments when needed.
For convenience, you can set the TTSBUDDY_VOICE environment variable to your preferred voice ID, eliminating the need to specify --voice with every command. If you're working with content in a different language, be sure to include the --language flag, especially when using Supertonic (st_*) voices.
For tasks requiring speed, Flash voices like Felicity, Fiona, Marcus, or Michael can produce audio 5–10x faster than standard voices. These are ideal for batch processing or automation-heavy workflows.
Core Features and Day-to-Day Usage
Running Text-to-Speech Commands
To get started with TTSBuddy, use the command: ttsbuddy <input_file> <output_file>. For example, converting a Markdown file is as simple as running ttsbuddy input.md output.mp3. You can customize the experience with the --voice flag, which offers over 58 neural AI voices, and the --speed flag, which adjusts the playback speed from 0.5x to 1.5x. With support for inputs of up to 500,000 characters per request, you can handle substantial text, like a full book chapter, in one go.
Now let’s dive into how the input and output options make this tool adaptable to various workflows.
Input and Output Modes
TTSBuddy CLI offers flexibility with three input methods and four output modes, making it easy to integrate into your daily tasks.
For input, you can:
- Pass an inline string directly in the command.
- Point to a
.mdor.txtfile. - Pipe text via stdin from another terminal tool.
For output, here are the options and their best use cases:
| Output Mode | How to Use It | Best For |
|---|---|---|
| File | Save audio as .mp3, .wav, .flac, .ogg, or .opus | Archiving or sharing audio files |
| Stdout | Stream raw audio to another process | Direct playback or encoding workflows |
| JSON | Receive structured metadata like file paths and processing times | Automation and scripting |
| Audio URL | Output only the hosted audio URL | Quick sharing or lightweight integrations |
The JSON output mode is particularly handy when automating tasks. For example, you can pair it with jq to extract specific fields, such as audio_url, and feed them into other scripts without needing manual intervention.
These input and output options work seamlessly with TTSBuddy’s robust error management system.
Exit Codes and Error Handling
TTSBuddy CLI is designed with structured exit codes and JSON-formatted error responses, making it dependable for shell scripts and CI/CD pipelines. If a request fails, the CLI provides a JSON object with a success: false flag, an error code, a descriptive message, and a request_id for support inquiries.
Here’s a quick guide to common error codes:
| Error Code | HTTP Status | What It Means | What to Do |
|---|---|---|---|
INVALID_KEY | 401 | API key is invalid or expired | Verify or regenerate your API key in the dashboard |
RATE_LIMITED | 429 | Too many requests sent | Check the Retry-After header and wait before retrying |
TEXT_TOO_LONG | 400 | Input exceeds 500,000 characters | Break the text into chunks of 30,000–50,000 characters |
USAGE_LIMIT_EXCEEDED | 403 | Monthly usage limit reached | Upgrade your plan or wait for the monthly reset |
TTS_PROVIDER_ERROR | 502 | External service issue | Retry with exponential backoff (e.g., 1s → 2s → 4s) |
For HTTP 500/502 errors, retry using exponential backoff to allow the system time to recover. If you encounter a 429 error, always respect the Retry-After header to avoid unnecessary retries. And here’s a helpful feature: if you interrupt a job with Ctrl+C, TTSBuddy will display the job ID so you can resume later without losing progress or incurring extra charges.
Advanced Features: Voices, Piping, and Automation
Choosing and Customizing Voices
These advanced features build on the basics of text-to-speech (TTS), offering more flexibility for automation and workflow integration. The result? A smoother, more productive experience that also boosts accessibility.
TTSBuddy provides access to over 58 neural AI voices, sorted into four tiers: Flash (optimized for speed), Premium (natural and expressive), Standard (reliable for everyday use), and Basic (lightweight and functional). Your choice of tier depends on your project’s needs.
For long-form content, Premium Kokoro voices like Madison or Sophia deliver expressive narration that feels natural. If speed is critical - say, when processing large batches of files - Flash Supertonic voices such as Marcus or Fiona can generate audio 5–10 times faster than standard options.
You can specify a voice using the --voice flag in your command, like this:
ttsbuddy input.md output.mp3 --voice madison.
Tired of typing that flag every time? Set a global default using the TTSBUDDY_VOICE environment variable. Then, override it only when needed for specific tasks.
For multilingual projects, Flash Supertonic voices support a --language code (e.g., fr for French, de for German, ja for Japanese). This lets you maintain the same voice style across 30+ languages without switching voices. If you're focusing on language learning, adjusting the playback speed to 0.5x or 0.8x can make pronunciations clearer.
Now, let’s dive into how you can integrate these voice options into your terminal workflows using piping and streaming.
Piping and Streaming Audio
TTSBuddy is designed to fit seamlessly into terminal workflows. You can pipe text directly into TTSBuddy using stdin, eliminating the need for intermediate files. For instance, you can take the output of a curl command or a text-processing script and feed it straight into TTSBuddy. This keeps your workflow efficient and scriptable.
Want immediate feedback? Stream raw audio directly to stdout and pipe it into playback tools like aplay or ffplay. This skips the file-saving step entirely. Pair this with JSON output mode and tools like jq to extract the audio_url field on the spot, passing it downstream without any manual steps.
These flexible input-output operations lay the groundwork for streamlined automation and batch processing.
Automating and Batch Processing
TTSBuddy’s JSON responses make it a natural fit for shell scripts and CI/CD pipelines. You can branch logic based on success or failure without needing to parse free-form text.
To avoid redundant processing, use an idempotency key. For example, hash your file content along with voice and speed settings. This ensures that retries caused by network issues won’t result in duplicate charges [1]. Keep in mind the API limits: one POST request per minute and 30 GET requests per minute. Plan your retry logic accordingly [1].
For AI-driven workflows, TTSBuddy’s MCP-compatible API allows tools like LLM agents to handle TTS tasks without human input. Whether it’s generating audio documentation with every code push or scheduling overnight batch conversions for a content library, features like idempotency support and environment variable configuration make TTSBuddy easy to integrate into automated pipelines.
Accessibility and Practical Use Cases
Converting Documents to Audio for Accessibility
The tools and automation features we’ve discussed aren’t just about boosting productivity - they also play a role in making content more accessible for people who struggle to read text on screens. According to the World Health Organization, over 2.2 billion people worldwide experience some form of vision impairment, with many depending on audio formats to access written material [5].
TTSBuddy CLI is a great fit for this purpose. It works seamlessly with clean Markdown and plain text, letting users strip away unnecessary elements like navigation menus, inline code, or raw links. This ensures the focus remains on the core content. By using clear punctuation and proper headings, you can create audio files that are easier to follow, even when they’re lengthy. This process ensures consistent, natural-sounding narration, making it a valuable tool for accessibility.
A practical example? Imagine maintaining product documentation as Markdown (.md) files in a Git repository. A simple shell script could remove Markdown formatting, break the content into sections based on heading levels, and convert each segment into a separate audio file (e.g., section-01-overview.mp3, section-02-setup.mp3). TTSBuddy CLI can then process these sections using premium voices for natural narration. The resulting MP3 files can be bundled alongside the written documentation, offering an audio alternative for blind testers or colleagues. Depending on the plan, audio files are stored for varying durations: Free - 1 day, Pro - 7 days, Ultimate - 30 days [3].
Use Cases in Education and Professional Work
Beyond accessibility, TTSBuddy CLI proves invaluable in education and professional settings by simplifying workflows.
For students, it’s a game-changer. They can turn their written notes into high-quality audio files using the same automation capabilities. A common approach involves organizing notes in Markdown by chapter, then batch-converting them into an MP3 playlist for the week. Speed adjustments make the tool even more versatile - listening at 1.2x or 1.5x speed helps with review, while reducing the speed to 0.8x is ideal for understanding complex STEM material [6]. Consistent voice output across a course enhances comprehension.
Professionals also benefit from this streamlined approach. For instance, a product manager could integrate TTSBuddy CLI into a Makefile or justfile to automate the creation of an MP3 version of a weekly status report whenever it’s updated in version control. This audio file can then accompany team emails. Similarly, engineers, lawyers, and corporate trainers can rely on a single conversion process to generate audio that suits a variety of professional needs.
In the 2021–22 school year, the National Center for Education Statistics reported that around 7.3 million U.S. public school students (14.7%) received special education services [4]. For many of these students, having access to audio versions of notes and readings isn’t just helpful - it’s essential. TTSBuddy CLI makes it easy to produce these resources on a large scale without delays.
Managing Usage and Choosing a Plan
TTSBuddy CLI offers flexible pricing plans to cater to different needs, from accessibility efforts to professional workflows. To choose the right plan, estimate how many audio minutes you’ll need. A useful guideline: 150–180 words of text equals about 1 minute of audio. For example, a 1,500-word report translates to 8–10 minutes of audio, while a 12-week course with 3,000 words of notes per week would require roughly 200–240 minutes of audio for the semester.
Here’s a breakdown of the available plans:
| Plan | Monthly Cost | TTS Minutes | Best For |
|---|---|---|---|
| Free | $0 | 120 min/mo | Testing, light personal use, short documents |
| Pro | $9.99/mo | 1,200 min/mo | Students, professionals, recurring workflows |
| Ultimate | $49.99/mo | Unlimited | Large libraries, teams, automated pipelines |
You can monitor usage through the web dashboard. As noted in the TTSBuddy documentation:
"Statistics reset at the beginning of each billing cycle. Check your Dashboard regularly to stay within your plan's quotas." [3]
For automated batch jobs, it’s a good idea to use a deterministic idempotency key (such as a hash of the file content combined with voice and speed settings). This prevents duplicate charges in case of network issues, especially for Free and Pro plans where minute limits are fixed [1].
Conclusion and Key Takeaways
TTSBuddy CLI's Core Benefits at a Glance
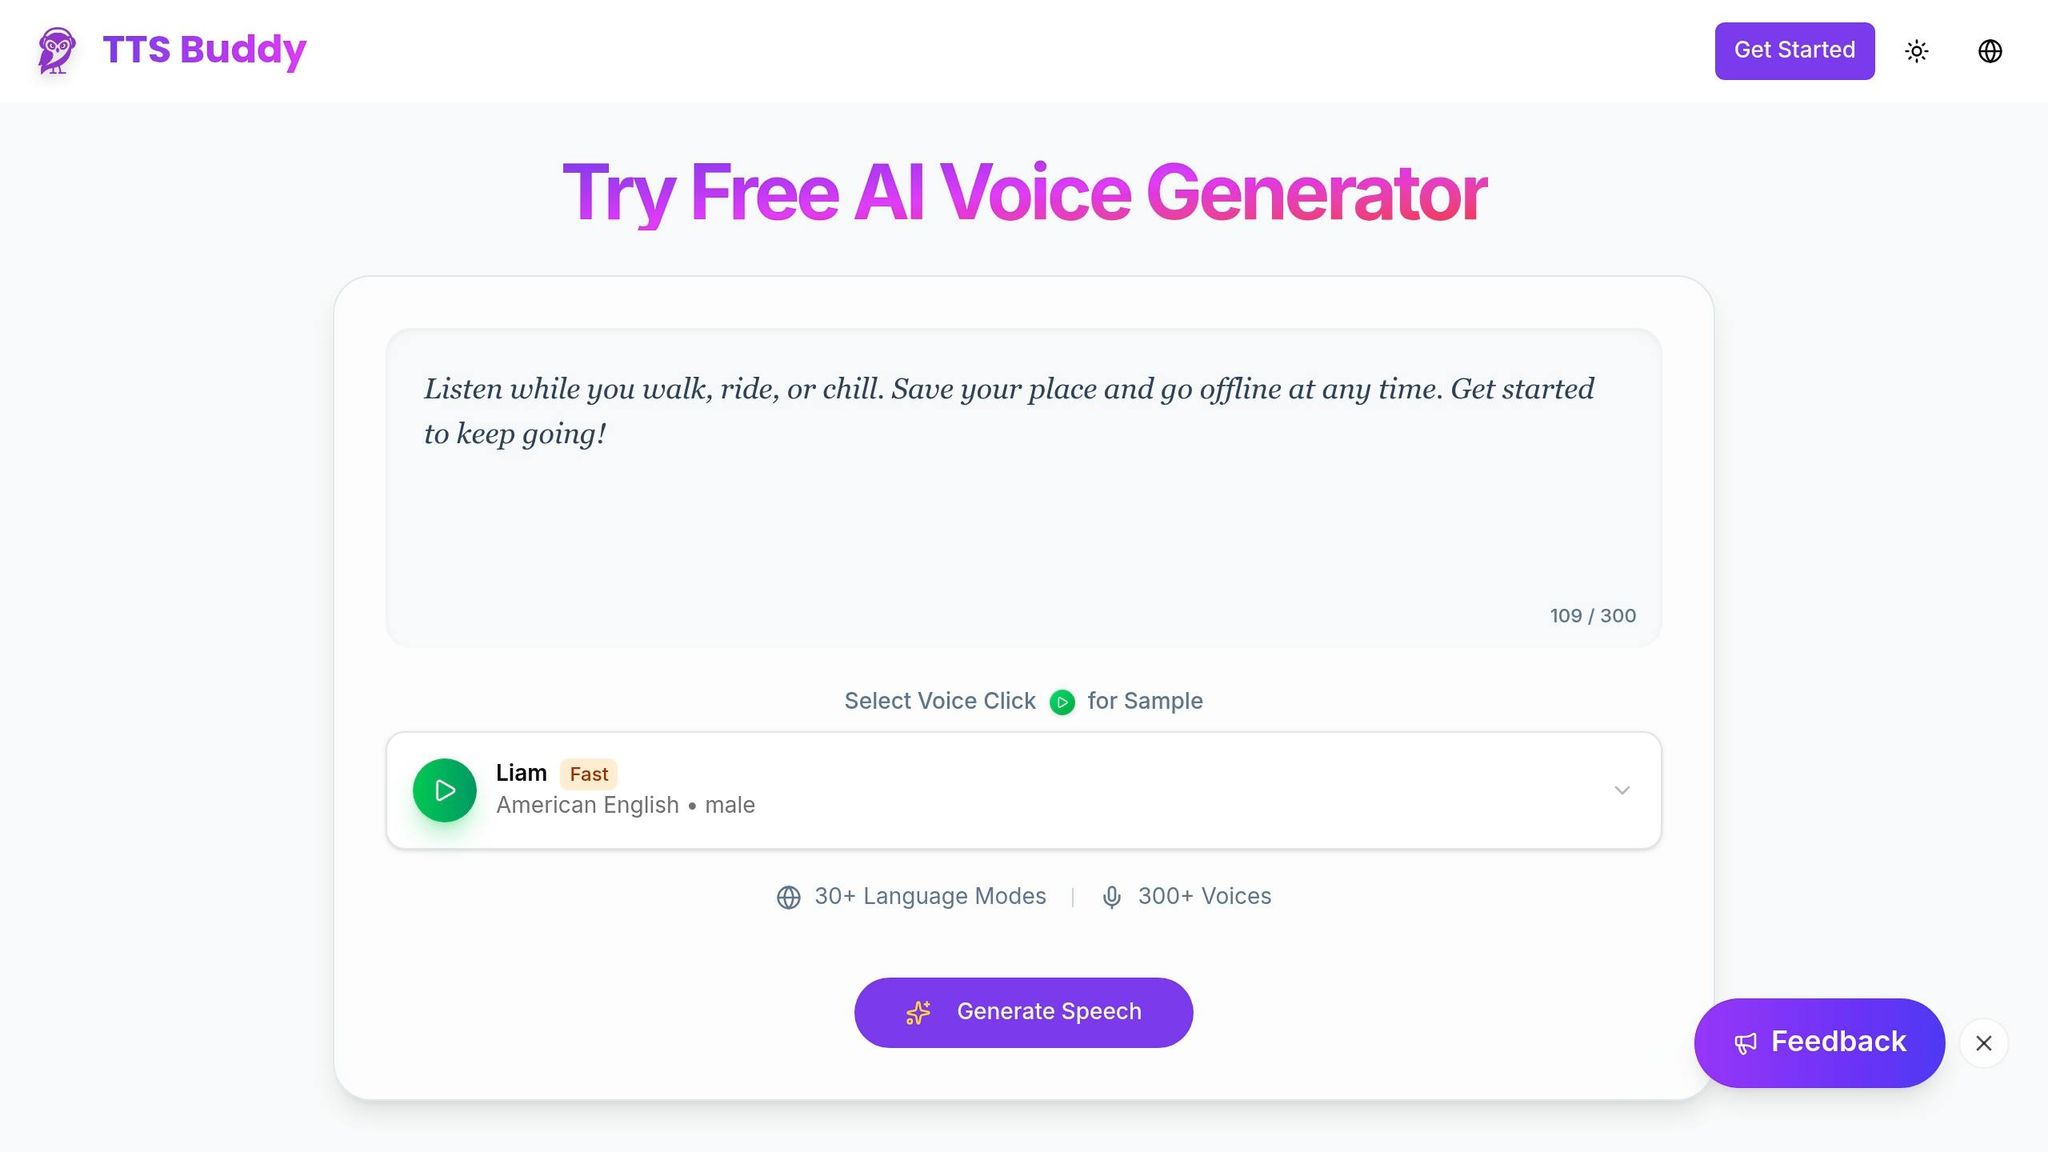
TTSBuddy CLI is a lightweight, cross-platform tool that works seamlessly on macOS, Linux, and Windows without requiring extra dependencies. It offers 58+ neural AI voices in 14+ languages, supports three input modes (inline text, Markdown files, and stdin/pipes), and delivers outputs in formats like MP3, WAV, and JSON metadata for automated workflows.
Here's a quick overview of its standout features and how they enhance daily use:
| Feature | How It Helps You |
|---|---|
| Piping/Stdin | Converts terminal output or command results directly into speech |
| JSON Output | Provides structured metadata for automation in pipelines |
| Flash Voices | Speeds up batch audio generation by 5–10x compared to standard voices |
| Markdown Sanitizer | Automatically cleans up headers, links, and code blocks for smoother narration |
"Terminal-native TTS is essential for developers to stay focused, automate alerts, and make CLI workflows accessible." [2]
With these benefits in mind, it's time to dive in and see what TTSBuddy CLI can do for you.
Your First Steps With TTSBuddy CLI
Once you've reviewed its capabilities, getting started with TTS Buddy is as simple as running a command to get a feel for its efficiency. Begin by downloading the binary, setting your TTSBUDDY_API_KEY environment variable (remember to avoid hardcoding your key), and running ttsbuddy --check-api to confirm your account setup and quota. From there, test an inline command before exploring file-based or piped input options.
When you're comfortable with the basics, start integrating advanced features into your workflow. Use Flash voices for faster processing of large batches. For longer documents, split them into segments of 30,000–50,000 characters to avoid timeouts, particularly for texts exceeding 100,000 characters. When working with automated REST API jobs, include an Idempotency-Key header to prevent duplicate charges [1].
The Free plan offers 120 minutes per month - perfect for testing the tool. If your needs expand, the Pro plan at $9.99/month provides 1,200 minutes and unlimited downloads, making it a practical choice for recurring professional tasks.
FAQs
How do I list all available voice IDs?
To see all the available voice IDs in TTSBuddy, you can use the public API endpoint. This endpoint offers a full list of over 58 supported voices and doesn’t require any authentication. Just send a GET request to access it. Alternatively, you can check out the complete voice catalog, which includes details like voice names and quality tiers, through the Voice dropdown menu on your TTSBuddy dashboard.
How can I stream audio to my speakers without saving a file?
If you want audio to play straight through your speakers without saving it as a file, the streaming modes in the TTSBuddy CLI make this possible. As the text is processed, the audio will be played through your system's output in real-time.
To get started, open a terminal and ensure your setup can handle piping audio directly to a media player or sound device that supports real-time streaming. This ensures smooth playback without the need to store intermediate files.
What’s the best way to chunk long documents for reliable batch runs?
For smoother batch processing, break lengthy documents into smaller, manageable parts before converting. Although TTSBuddy can handle up to 500,000 characters per request, it's best to work with chunks of 30,000–50,000 characters for optimal performance. If you're dealing with particularly large or slow files, consider dividing them by chapters or sections. Also, take the time to clean up the text by removing any unusual characters or formatting issues - this helps prevent delays and ensures consistent audio quality.