Terminal Text-to-Speech: Developer Guide

Want to turn text into audio directly from your terminal? Tools like TTSBuddy CLI make it possible to automate text-to-speech (TTS) workflows without leaving your command line. Here's what you need to know:
- What It Does: Converts text, markdown, or terminal output into spoken audio using AI voices.
- Why It Matters: Saves time, reduces context switching, and keeps workflows private and secure.
- Key Features:
- Supports multiple formats (text, markdown, stdin).
- Offers over 58 voices in 14+ languages.
- Works offline and integrates with CI/CD pipelines.
- Pricing: Free tier includes 120 minutes/month; paid plans start at $9.99/month.
- Setup: Easy installation on macOS, Linux, and Windows via Homebrew, wget, or .zip files.
Quick Example:
Turn a markdown file into audio with one command:
ttsbuddy speak --file README.md --output audio.mp3
This guide covers installation, configuration, and automation tips to integrate TTS into your development workflow. Whether you're batch-processing files, using it in CI/CD, or creating narrated release notes, TTSBuddy simplifies the process.
Installing and Setting Up TTSBuddy CLI
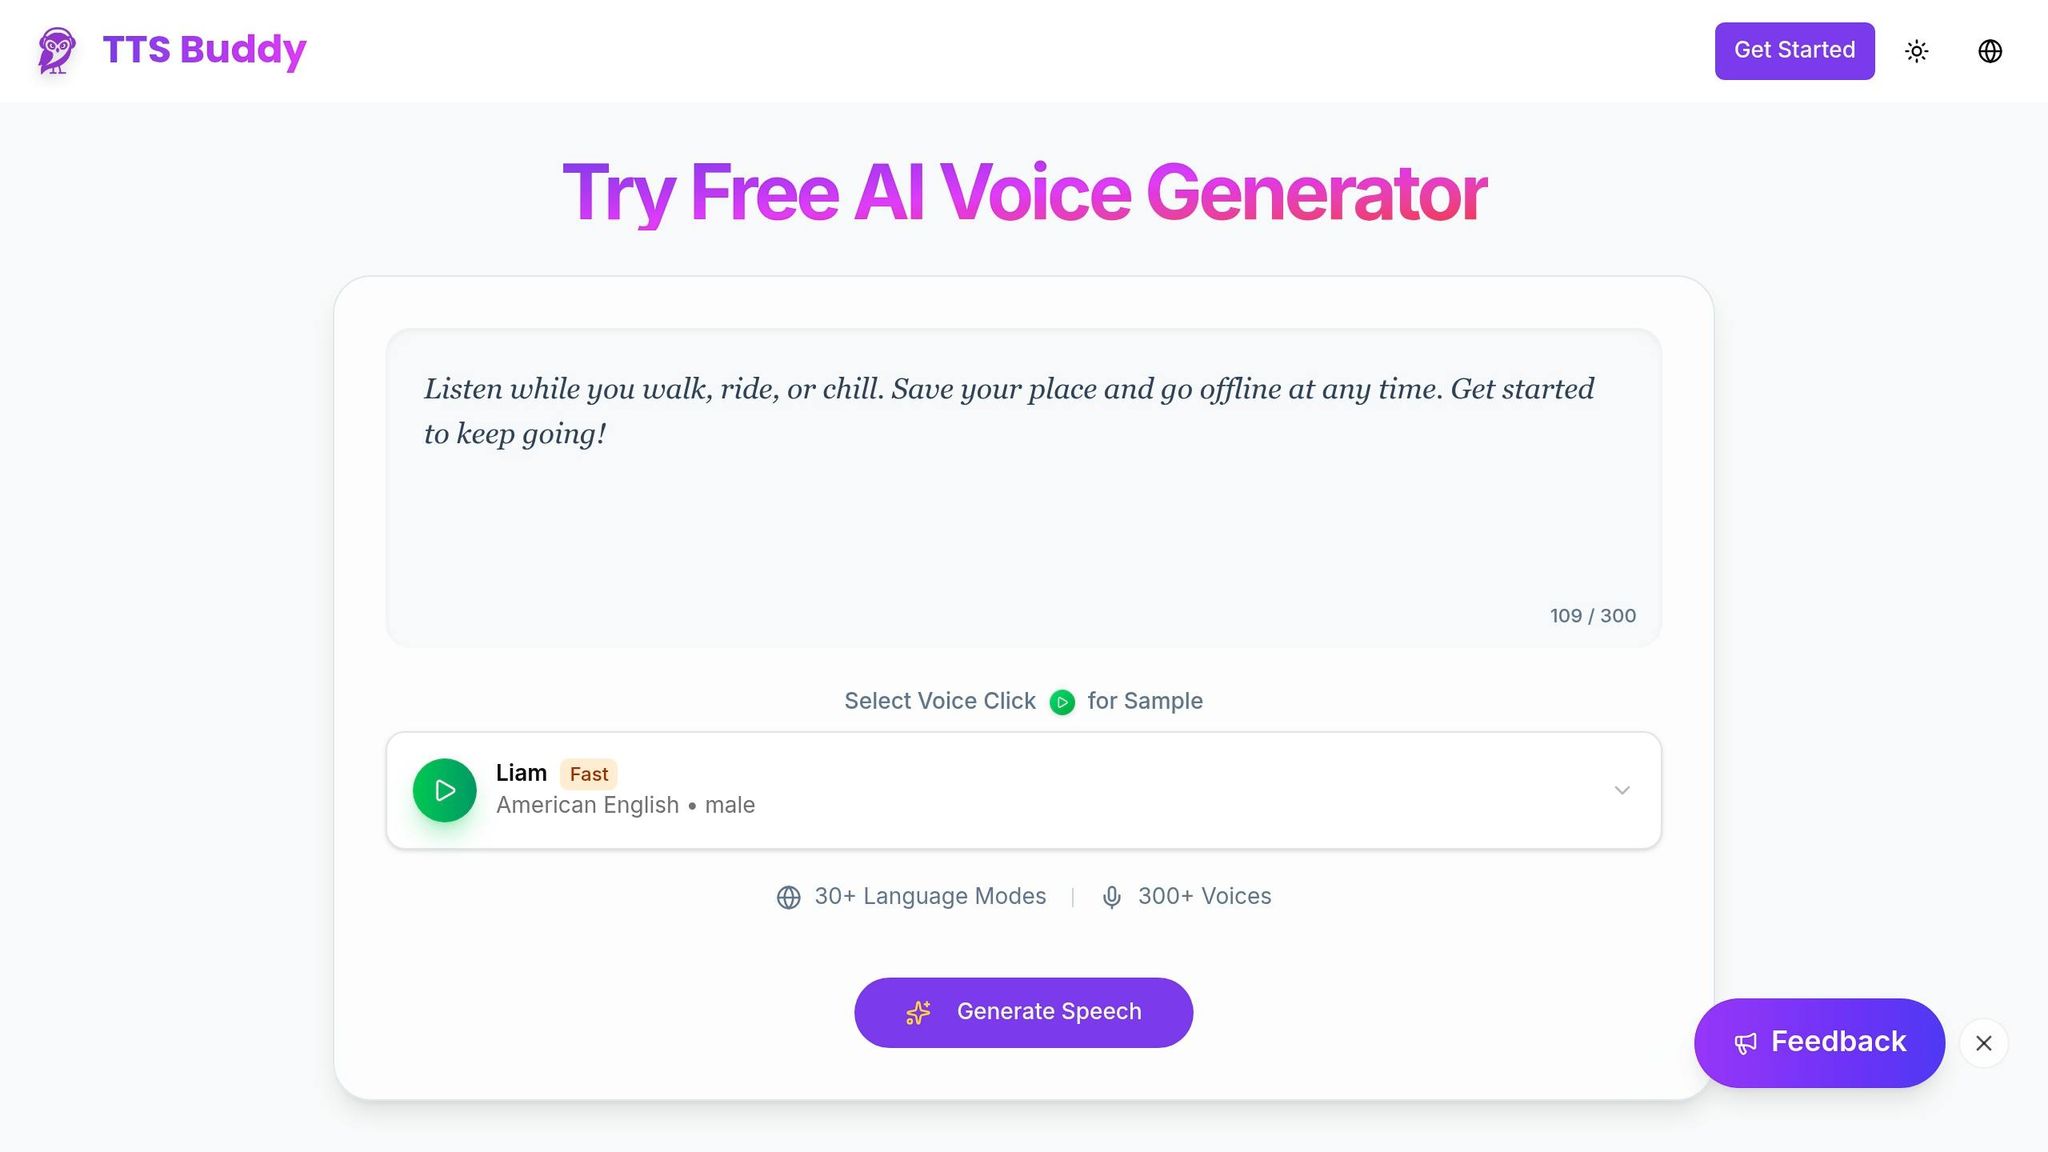
Installation on macOS, Linux, and Windows
Getting TTSBuddy CLI up and running takes just a few minutes, no matter your operating system. While the steps differ slightly depending on your platform, the result is a single, lightweight binary - no extra dependencies or background services required.
| Platform | Primary Method | Command or Steps |
|---|---|---|
| macOS | Homebrew | brew install ttsbuddy |
| Linux | Binary via wget | Download the tar.gz file, extract it, move it to /usr/local/bin/, and make it executable. |
| Windows | .zip download | Extract the .zip to C:\ttsbuddy\ and update your PATH environment variable. |
| Universal | Go toolchain | go install github.com/ttsbuddy/cli@latest |
For macOS users, Homebrew makes installation a breeze. On Linux, download the tarball from GitHub, extract it, move it to /usr/local/bin/, and run chmod +x ttsbuddy to make it executable. Windows users should extract the .zip file to a directory like C:\ttsbuddy\ and then add that directory to the PATH via Environment Variables. Make sure the binary is named ttsbuddy.exe for Windows compatibility.
"TTS Buddy is built for accessibility - everything you need is free" - TTSBuddy Documentation [2]
Once installed, the next step is configuring your API key and voice settings to integrate TTSBuddy into your workflow.
Basic Configuration for US Developers
After installation, the first thing you'll need is an API key to activate TTSBuddy. Generate your key from the TTSBuddy dashboard. It will look like this: tts_xxxxxxxxxxxxxxxx. Then, set it as an environment variable.
- macOS/Linux: Use
export TTSBUDDY_API_KEY=your_key_here, and add this line to your~/.bashrcor~/.zshrcfile to make it permanent across sessions. - Windows PowerShell: Run
[Environment]::SetEnvironmentVariable("TTSBUDDY_API_KEY", "your_key", "User")to set the key at the user level.
You can also set a default voice to save time when running commands. Popular American English options include:
- Premium voices:
madison,sophia,zoe - Flash-tier voices:
marcus,felicity
To set a default voice, add export TTSBUDDY_VOICE=madison to your shell configuration file. The CLI prioritizes settings in this order: command-line flags → environment variables → config file, so you can always override defaults when needed.
Verifying Your Setup
To ensure everything is set up correctly, start by checking the installation. Run:
- macOS/Linux:
ttsbuddy --version - Windows:
.\ttsbuddy.exe --version
A successful installation will return something like v1.2.0, confirming the binary is accessible in your PATH.
Next, check your API key and quota by running ttsbuddy --check-api. Free accounts come with 10,000 characters of quota. If you get a 401 Invalid API Key error, regenerate your key in the dashboard and reload your shell config (source ~/.zshrc on macOS/Linux or restart PowerShell on Windows). A 429 response means you've hit your monthly limit.
For a complete list of commands and flags, run ttsbuddy --help to explore all available options.
Converting Text and Markdown to Audio
Using Inline Text Commands
If you’re looking for a quick way to convert text to speech, passing the text directly in the command line is the way to go. This method is perfect for single-use conversions without needing to create a file first.
ttsbuddy speak "Your deployment finished successfully." --output alert.mp3
By default, the output is an MP3 file. But if you leave out the --output flag, the audio will stream directly to stdout, which can be handy for piping into other tools. For those automating workflows, adding --json provides structured output instead of plain text status updates.
For larger or more detailed content, switching to file-based input is a better option.
Converting Text and Markdown Files
When working with longer content, you can use the --file flag to process .txt or .md files directly:
ttsbuddy speak --file README.md --output readme-audio.mp3
ttsbuddy speak --file release-notes.txt --output release-notes.mp3
Markdown files are automatically cleaned up for narration by removing headings, links, images, and code blocks. This feature is especially useful for documentation-heavy projects, saving you the hassle of manual edits.
Alternatively, you can pipe content through stdin for seamless integration into command chains:
cat CHANGELOG.md | ttsbuddy speak --stdin --output changelog.mp3
Choosing Voices, Languages, and Output Formats
Once you’ve selected your input, you can customize the output by choosing from over 58 voices across 14 languages. Run ttsbuddy voices to see the full list. To narrow it down by language, add the --lang flag with a Supertonic language code:
| Language Code | Language |
|---|---|
en | American English |
es | Spanish |
fr | French |
de | German |
ja | Japanese |
zh | Chinese |
hi | Hindi |
Voices are grouped into tiers: Flash, Premium, and Standard. Flash voices (e.g., st_m1 to st_m5 for male voices and st_f1 to st_f5 for female voices) are optimized for speed, generating audio 5–10x faster than standard options. These are ideal for batch processing or CI/CD pipelines. Meanwhile, Premium voices like madison or sophia deliver more natural intonation, making them great for tasks like blog narration or creating polished documentation.
To specify a voice and language, you can use:
ttsbuddy speak --file docs/guide.md --voice madison --lang en --output guide.mp3
You can also tweak the playback speed with the --speed flag, ranging from 0.5x to 1.5x. This is particularly helpful for accessibility purposes, where slower audio can improve understanding.
Automating TTS in Development Workflows
Shell Scripts for Batch Processing
Once you've mastered converting single files, the next logical step is automating the process for entire directories. This can be done efficiently with a simple shell loop:
for file in docs/*.md; do
  output="audio/$(basename "$file" .md).mp3"
  if [ ! -f "$output" ]; then
    ttsbuddy speak --file "$file" --voice marcus --output "$output"
  fi
done
The line if [ ! -f "$output" ] is crucial here. It ensures your script skips over files that already have audio, saving you from unnecessary API calls and helping you stay within your usage limits. For better error handling, you can add the --json flag and pipe the output to jq for structured data processing. TTSBuddy provides structured exit codes, so your script can cleanly distinguish between success and failure without having to parse raw output.
To streamline your setup, store your TTSBUDDY_API_KEY and default TTSBUDDY_VOICE in your .zshrc or .bashrc. This way, you won’t need to include them in every script. If your needs go beyond shell scripting, consider using the REST API for more advanced workflows.
Integrating TTSBuddy with the REST API
For more control or workflows that don’t rely on the CLI, TTSBuddy’s REST API (available at https://www.ttsbuddy.com/v1/agent-tts) offers full programmatic access. You can submit a POST request and then poll the status_url it returns until the status updates from processing to completed.
Here’s a simple example:
# Submit the job
response=$(curl -s -X POST https://www.ttsbuddy.com/v1/agent-tts \
  -H "Authorization: Bearer $TTSBUDDY_API_KEY" \
  -H "Content-Type: application/json" \
  -H "Idempotency-Key: deploy-notes-$(date +%Y%m%d)" \
  -d '{"text": "Deployment complete. All checks passed.", "voice": "st_m1"}')

status_url=$(echo "$response" | jq -r '.status_url')

# Poll until completion
while true; do
  status=$(curl -s "$status_url" -H "Authorization: Bearer $TTSBUDDY_API_KEY" | jq -r '.status')
  [ "$status" = "completed" ] && break
  sleep 5
done
The Idempotency-Key header is important because it prevents duplicate submissions if the request is retried. The API has rate limits of 1 POST per minute and 30 GET requests per minute, so make sure to include a short delay between polling attempts.
Using TTSBuddy in CI/CD and AI Agent Workflows
By combining shell scripting and REST API integration, you can seamlessly incorporate TTSBuddy into CI/CD pipelines and AI agent workflows. For example, in a CI/CD pipeline, you could generate narrated release notes for every tagged release. After the build step, convert CHANGELOG.md into an audio file using a Flash voice, and attach the MP3 as a release artifact.
TTSBuddy also integrates smoothly with AI agent workflows through its MCP-compatible API. The ttsbuddy_speak tool supports parameters like text, voice, speed, and language. Additionally, it offers a delivery_mode option set to "stream" for real-time audio with low latency.
"Fast voices generate 5–10x faster than standard voices with excellent quality. For API and CLI workflows - especially automation, pipelines, and AI agents - we strongly recommend using Supertonic Fast voices." - TTSBuddy Documentation [1]
For longer scripts, the API can handle up to 500,000 characters per request, returning a 202 Processing response along with a job_id for lengthy tasks. If a job is interrupted, TTSBuddy provides the job_id in the terminal output, allowing you to resume polling without having to resubmit the request.
Best Practices for Accessible and Reliable TTS
Building on the earlier setup and automation strategies, here are some practical tips to ensure your text-to-speech (TTS) output is both accessible and dependable.
Preparing Content for Accessibility
Good audio starts with well-prepared text. Use punctuation intentionally - periods for standard pauses, ellipses for extended breaks, and dashes to indicate tonal shifts. This attention to detail is critical for technical content, where poorly timed pauses can confuse listeners.
For long-form material, such as documentation or release notes, Premium voices like Madison or Sophia are ideal because they provide a more natural and engaging listening experience [3][4]. On the other hand, for technical walkthroughs involving complex terms, a voice with clear articulation and a steady pace is better suited to ensure everything is easy to follow [4]. You can also adjust the playback speed to match your audience’s needs.
When sharing AI-generated audio, always include a disclosure to maintain transparency.
Optimizing Performance and Reliability
To avoid duplicate submissions, use idempotency keys for all API calls. This step, similar to earlier automation techniques, ensures efficiency and prevents unnecessary reprocessing.
When speed matters, Supertonic Fast voices are perfect for batch workflows [1]. For conversational or real-time needs, streaming TTS is an excellent choice - it delivers the first audio chunk in under 100ms, which aligns with the natural conversational pause of 100–300ms [5].
Privacy and Security Considerations
TTSBuddy prioritizes privacy by design. It doesn’t collect browsing data, install background processes, or store personal information. API keys are securely hashed, ensuring no full keys are saved [1]. This approach is particularly reassuring for teams managing sensitive content, such as healthcare or financial data.
Here’s how you can keep your setup secure:
- Limit access to files like
.envorsettings.jsonthat store API keys. - Always log the
request_idfrom API responses. This ID helps TTSBuddy’s support team troubleshoot without needing access to your original input text [1]. - Remember, generated audio URLs are temporary - download files as soon as they’re ready [1].
- Add explicit checks for errors like
API_KEY_EXPIREDorAPI_KEY_REVOKED(HTTP 401/403) to your scripts. Automated retries won’t solve these issues [1].
| Security Feature | Detail |
|---|---|
| Authentication | Bearer Token (ttsb_<public_id>_<secret>) |
| Key Hashing | API keys are hashed securely and not stored in full |
| Data Retention | Temporary URLs; download files promptly |
| Retry Safety | Idempotency keys prevent duplicate processing |
| Rate Limiting | 1 POST/min and 30 GET/min per API key |
Conclusion and Next Steps
You've got the hang of TTSBuddy CLI, from converting single files to managing batch jobs in CI/CD workflows, and even securing API key configurations.
Now, it’s time to scale up. Consider using the REST API (/v1/agent-tts), which can process up to 500,000 characters per request. It also supports asynchronous polling, making it ideal for handling large documents efficiently [1]. If you're working with AI agent workflows, the MCP tool definition can help. Simply feed the llms-full.txt documentation into your assistant for real-time coding support [6].
For high-volume tasks, focus on optimizing both speed and quality. Use Flash voices (IDs starting with st_) to minimize generation latency [1]. When working on long-form content or accessibility projects, voices like Madison and Sophia provide a more natural listening experience. You can also adjust playback speeds between 0.5x and 0.8x to cater to audiences who may need more time to process the material [3]. To avoid issues like double-billing and ensure clean batch processing, always include the Idempotency-Key header in your API requests [1].
If you're just getting started, TTSBuddy's free tier is a great way to explore its capabilities. It offers 120 minutes of TTS per month, giving you plenty of room to test your workflow before committing to a paid plan. Use this time to validate your setup and refine your processes before scaling up.
FAQs
How do I pick the best voice for docs vs CI/CD?
When creating professional documentation, it's essential to use a clear and authoritative tone that aligns with your material. TTSBuddy provides 58 voice options, giving you the flexibility to choose between conversational and professional styles for a polished presentation.
For tasks like CI/CD pipelines or automation, Flash voices - such as Felicity, Fiona, Marcus, or Michael - are ideal. These voices generate audio significantly faster, with speeds 5–10 times quicker than standard options. You can easily integrate them into your scripts using the --voice flag:
ttsbuddy input.md output.mp3 --voice Marcus
How can I keep my API key safe in scripts and pipelines?
To keep your API key safe, don’t hardcode it directly into your scripts. Instead, use a secret manager from your CI/CD platform or tools like the 1Password CLI to fetch it dynamically.
For local development, store the key as an environment variable or inject it into the process environment when running commands. When working with pipelines, ensure interactive prompts are disabled and supply the key through environment variables or a secure configuration file that your application can automatically detect.
What’s the simplest way to resume a failed TTS job?
To pick up where a failed TTS job left off in TTSBuddy, head to the Failed tab in the results panel on your dashboard and find the specific request. If you're using the API, review the job status to pinpoint the error. For internal or provider-related issues, you can retry the request, applying an exponential backoff strategy to manage retries effectively.