Terminal Text-to-Speech with One Command

Want to turn text into speech in seconds? With TTSBuddy CLI, you can convert up to 500,000 characters into audio using a single terminal command. It works on macOS, Linux, and Windows, and doesn’t require any external dependencies. Here’s why it stands out:
- Simple Setup: A standalone binary with no extra installations needed.
- 58+ Neural Voices: Choose from multiple languages and voice tiers like Flash (fast), Premium (natural), and Standard.
- Flexible Features: Save audio files, process Markdown files, or use JSON output for automation.
- Free Plan: Get 120 TTS minutes per month without providing payment details.
Whether you're a developer, accessibility user, or automation enthusiast, TTSBuddy CLI makes text-to-speech fast and efficient. Just install, configure your API key, and start converting text with commands like:
ttsbuddy "Your text here" -o output.mp3
Read on to learn installation steps, advanced features, and troubleshooting tips.
Why Use TTSBuddy CLI for Terminal Text-to-Speech?
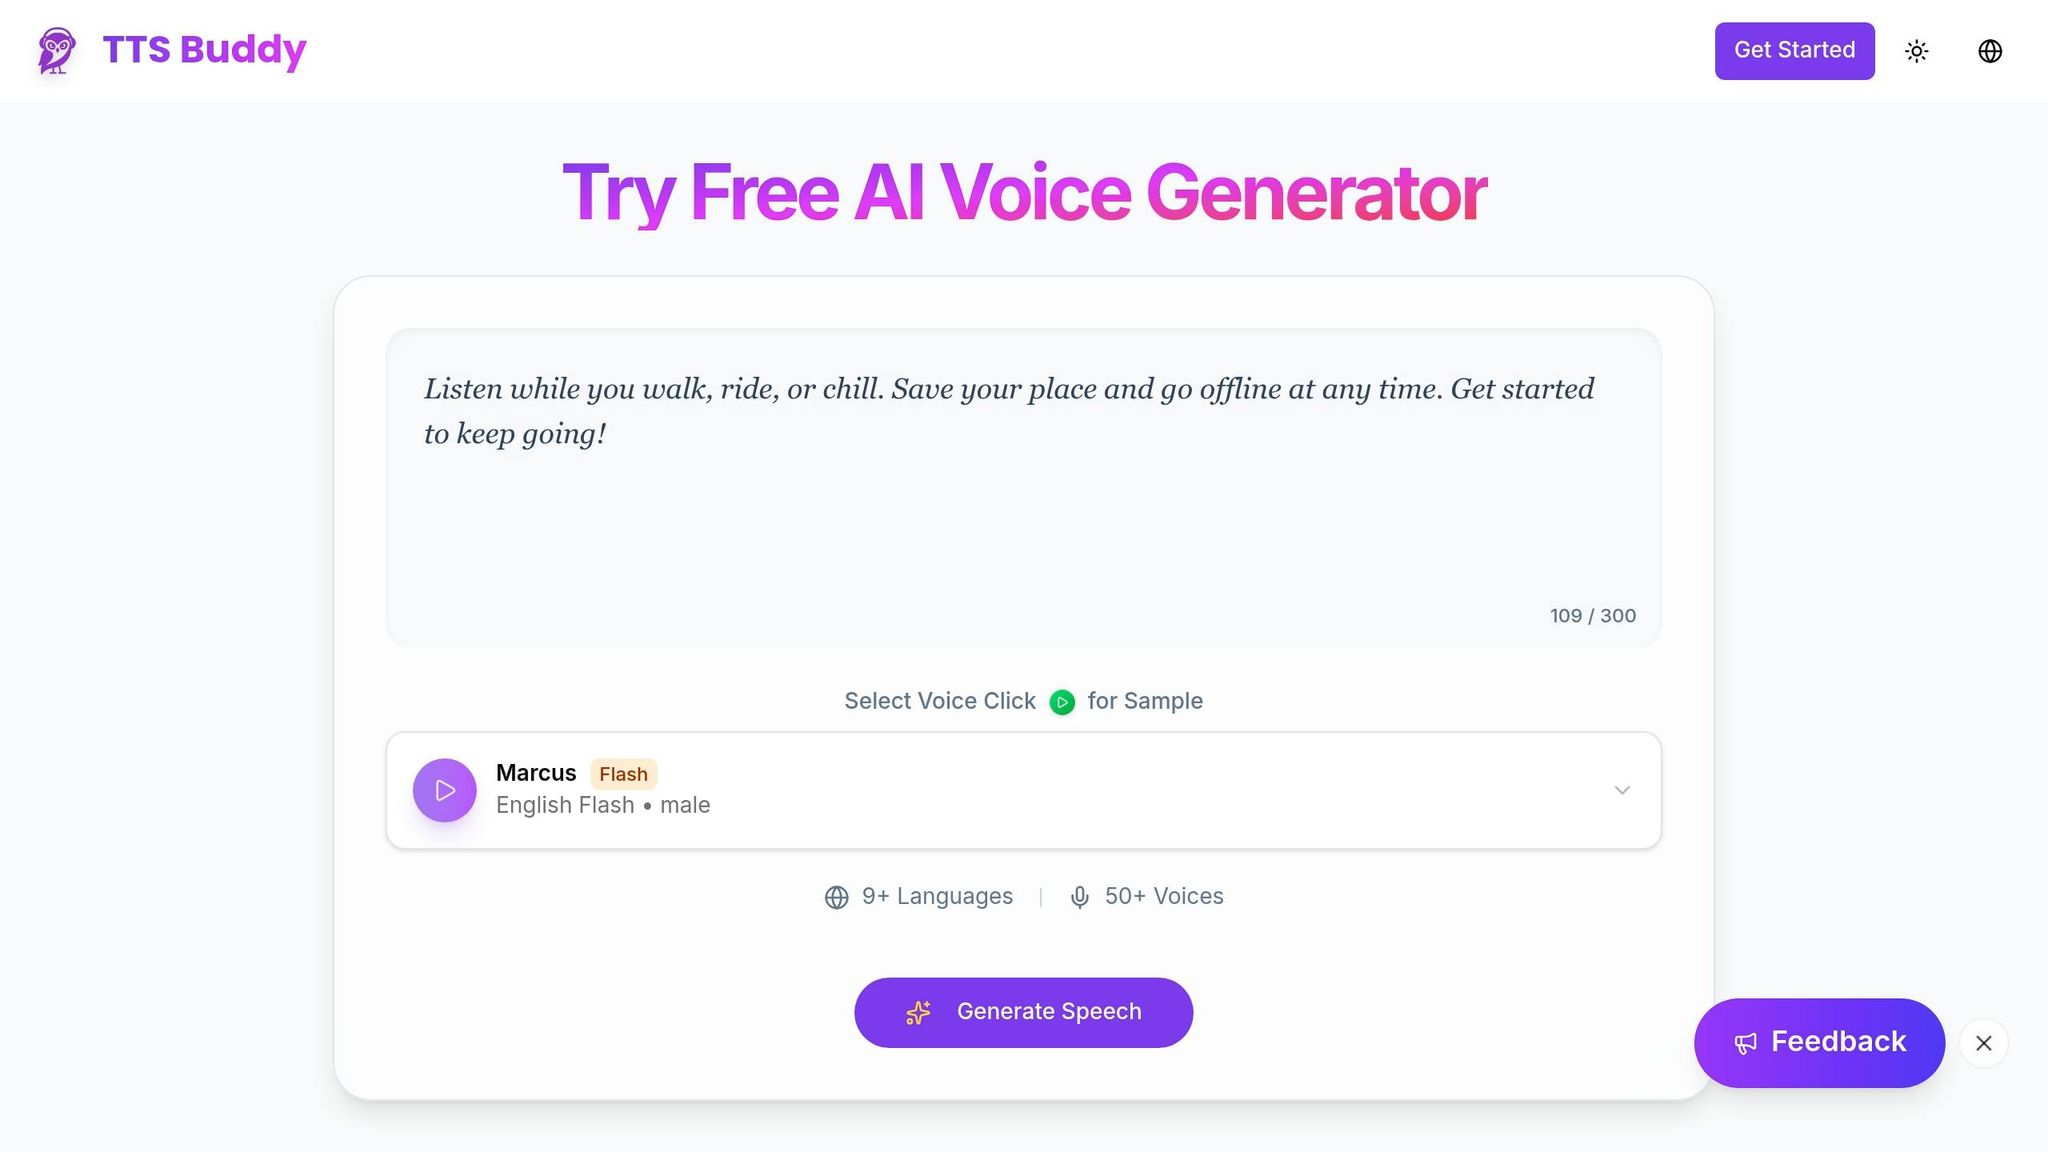
TTSBuddy CLI simplifies text-to-speech conversion by removing the need for complicated setups, external dependencies, or browser-based tools. With just one command, you can turn text into audio. Here’s a breakdown of its standout features.
Single Binary with No Dependencies
TTSBuddy CLI comes as a standalone executable that works right out of the box on macOS, Linux, and Windows. Unlike other tools that rely on external dependencies like Python, Node.js, or libraries such as PyTorch and FFmpeg, this binary has everything built in. That means no version conflicts and no extra installations. This makes it perfect for environments like CI/CD pipelines, Docker containers, or even air-gapped systems where adding dependencies isn't an option.
58+ AI Voices in 14+ Languages
TTSBuddy CLI offers four voice tiers to suit different needs:
- Flash voices (e.g., Felicity, Fiona, Marcus, Michael) are 5–10× faster than standard models, making them ideal for automation.
- Premium voices deliver the most natural sound, perfect for long-form content.
- Standard and Basic tiers handle everyday text-to-speech tasks with ease.
Even on the Free plan, you get 120 TTS minutes per month with access to all voice options - no credit card required.
Developer and Automation Features
TTSBuddy CLI is built with developers in mind, offering features that make automation seamless:
- JSON output mode: Provides structured data like URLs, job IDs, and metadata for easy integration with your tools.
- Idempotency support: Uses deterministic keys to avoid duplicate charges when retrying failed requests - essential for production workflows.
- Quiet mode: Suppresses progress indicators to keep logs clean in automated setups.
As the documentation highlights:
"The TTS Buddy API lets developers convert millions of words at scale. It's designed to be developer-friendly with straightforward integration."[5]
This combination of simplicity, flexibility, and developer-focused tools makes TTSBuddy CLI a great choice for terminal-based text-to-speech tasks.
Setting Up TTSBuddy CLI
What You Need Before Installing
To get started with TTSBuddy CLI, you’ll need a free TTSBuddy account to access your API key. Simply visit ttsbuddy.com and sign up using your email, Google account, or GitHub. The free plan is generous - it includes 120 minutes of text-to-speech conversion and allows up to 30 downloads per month[1]. No payment details are required.
If you plan to build from source, make sure you’ve installed Go 1.21 or later. For macOS users, Homebrew is a convenient way to handle this. Since TTSBuddy relies on cloud-based neural TTS engines, ensure your device has an active internet connection[8].
Once you’ve got these basics covered, you’re ready to move on to the installation steps.
How to Install TTSBuddy CLI
Installing the TTSBuddy CLI is simple. On macOS, the quickest option is using Homebrew - just run the appropriate Homebrew command. For Windows and Linux, you can either download the binary directly from the TTSBuddy website or build it from source using Go if you want more control over the process.
Setting Up Your API Key
After installation, the next step is to configure your account credentials. Log in to your TTSBuddy Dashboard at ttsbuddy.com to retrieve your API key[1].
You have two options for setting up authentication:
- Add your API key as an environment variable
- Save it in a local configuration file
The CLI is designed to be flexible. It prioritizes command-line flags first, followed by environment variables, and then config file settings. This hierarchy ensures you can adapt the setup to match your workflow, whether you’re running occasional commands or automating large tasks.
Processing times for audio requests vary. Most take between 10–30 seconds, but texts exceeding 100,000 characters can take a few minutes. The system accommodates up to 500,000 characters per request, making it suitable for lengthy projects like full chapters of novels or detailed research papers[1][2].
Converting Text to Speech in One Command
Converting Text Directly
Using TTSBuddy CLI is straightforward - just pass your text as a string directly into the command. For example:
ttsbuddy "Your text here"
This will generate the audio almost instantly. Typically, requests take about 10 to 30 seconds to process, and you'll receive a URL where you can listen to or download the audio file[2].
Want to use a specific voice? Simply add the --voice flag. For instance:
ttsbuddy --voice en-US-AnyaNeural "Hello world"
This command will use the Anya Neural voice for the conversion. With over 58 AI voices in 14+ languages available[2], you can find one that suits your needs perfectly.
Let’s move on to saving audio files directly to your system or working with larger text files.
Saving Audio Files
If you'd prefer to save the generated audio directly to your computer, use the -o flag like this:
ttsbuddy --voice en-US-AnyaNeural "Hello world" -o output.mp3
This will create an MP3 file named output.mp3 in your current directory. It’s a practical option for longer texts, such as full chapters or scripts.
But what if you’re dealing with file content or working in pipelines? That’s where TTSBuddy CLI truly shines.
Processing Files and Pipelines
TTSBuddy CLI integrates seamlessly with command pipelines, making it easy to convert content from files without needing to copy and paste. For example, you can pipe content from a Markdown file directly into the tool:
cat file.md | ttsbuddy
The tool’s built-in AI sanitization takes care of any complex formatting, like tables, bullet lists, or code blocks, restructuring them into smooth, natural narration[2].
"AI sanitization - Complex formatting (tables, bullet lists, code blocks) is automatically restructured by AI for better narration." - TTS Buddy Documentation[2]
For very large documents, consider splitting the text into smaller sections to ensure faster processing.
Advanced Features for Developers
TTSBuddy CLI doesn't just stop at basic conversion - it offers a range of advanced tools designed to help developers integrate text-to-speech functionality smoothly into their workflows.
JSON Output for Scripts
When working with automation workflows, structured data is essential. By using the --json flag, TTSBuddy outputs machine-readable JSON instead of plain text, making it easy to parse with tools like jq.
For example:
ttsbuddy --json "Convert this to speech" | jq '.audioUrl'
This command outputs structured metadata, including the audio URL, job ID, and processing status. You can feed this data directly into deployment scripts, testing frameworks, or processing pipelines without needing to create custom parsers. It’s a clean and efficient way to handle automation tasks.
For workflows that require faster results, Flash voices can further streamline operations.
Flash Voices for Faster Processing
Flash voices are designed to cut down on processing times significantly. TTSBuddy offers four pre-optimized Flash voices: Felicity, Fiona, Marcus, and Michael [4].
These voices are built for speed, with an already accelerated base pace. You can further adjust their speed between 0.5x and 1.5x relative to this faster baseline [4]. Whether you're batch processing large datasets or converting lengthy documents, Flash voices can save substantial time, making them ideal for high-volume tasks.
Quiet Mode and Safe Retries
In production environments, keeping things clean and reliable is key. TTSBuddy CLI includes features to ensure smooth automation, even under demanding conditions.
- Quiet Mode (
--quiet): This flag suppresses progress bars and status messages, keeping logs tidy in CI/CD pipelines like GitHub Actions, Jenkins, or GitLab CI [9][11]. It’s perfect for reducing terminal clutter in automated workflows. - Safe Retries (
--idempotency-key): This flag ensures reliability during production. If a script crashes or a network error interrupts a request, you can safely re-run the same command without duplicating audio files or incurring extra charges [10]. By generating a unique UUID for each task, the system automatically recognizes retry attempts.
Feature Overview
| Feature | Flag | Use Case | Benefit |
|---|---|---|---|
| Quiet Mode | --quiet | CI/CD Pipelines, Cron Jobs | Keeps logs clean and avoids unnecessary terminal output. |
| Safe Retries | --idempotency-key | Production Automation | Prevents duplicate processing and avoids wasting quotas. |
| JSON Output | --json | Script Integration | Outputs structured data for seamless use in downstream tools. |
| Flash Voices | (Voice Selection) | Batch Processing | Speeds up audio generation by 5-10x compared to standard models. |
These advanced features make TTSBuddy CLI a powerful tool for developers looking to optimize their text-to-speech workflows, whether for automation, batch processing, or production environments.
Troubleshooting Common Issues
Even with a user-friendly tool like TTSBuddy CLI, occasional problems can crop up. Most of these are tied to common factors like authentication, network connectivity, or formatting challenges. Here’s a guide to tackling some of the most frequent issues you might face.
Common Errors and How to Fix Them
Invalid API Key or Authentication Errors
This error usually means there’s an issue with your account verification or the API key. Start by ensuring your email is verified - this is a critical step [8]. Next, copy your API key directly from the TTSBuddy dashboard to avoid any typing mistakes [8]. If you’ve recently upgraded your plan, give it a few minutes to sync. Refresh your dashboard, log out and back in, or simply wait for five minutes [8].
Generation Failures
These errors often point to network problems or unsupported text formatting. First, check your internet connection to ensure it’s stable [8][5]. If that’s not the issue, look at your text - special characters, PDF tables, or code blocks can sometimes cause errors. Simplify the text by removing these elements or breaking it into smaller sections to identify the problem [8]. For particularly long texts, splitting them into smaller chunks can help avoid processing delays or timeouts [8][2].
Quota Exceeded Errors
This happens when you’ve reached your monthly usage limit. You can check your current usage in the Billing section of your dashboard [5][6]. For reference, the Free plan includes 120 minutes of text-to-speech per month, while the Pro plan offers 1,200 minutes [7][5]. If you’re regularly hitting your limit, upgrading to a higher plan might be a good idea.
Quick Reference Table
| Error | Possible Cause | Solution |
|---|---|---|
| Invalid API Key / Auth Error | Unverified account or incorrect key | Verify your email and copy the API key directly from the dashboard [8] |
| Generation Fails | Network issues or complex formatting | Check your connection; remove special characters; process smaller text [8][5] |
| Subscription Not Active | Sync delay after upgrade | Refresh the dashboard; log out and back in; wait about 5 minutes [8] |
| Processing Too Slow | Text exceeds 100,000 characters | Split the text into smaller sections [8][2] |
| Quota Exceeded | Monthly limit reached | Check usage in the Billing dashboard; consider upgrading your plan [5][6] |
| Incomplete Audio | Text too long or network timeout | Break the text into smaller chunks and ensure a stable connection [8] |
| Distorted/Robotic Voice | Speed setting above 1.0x | Reset the speed to 1.0x or switch to a different voice [8] |
If you encounter an issue that doesn’t align with these scenarios, head to the "Failed" tab in the Results panel on your dashboard. There, you’ll find specific error messages that can guide you in resolving the problem [6]. These troubleshooting steps ensure that TTSBuddy CLI remains a reliable tool, even when challenges arise.
Conclusion
TTSBuddy CLI simplifies text-to-speech tasks in the terminal. Forget about juggling dependencies, cloud credentials, or complex configurations - this single binary takes care of it all, whether you're working with Markdown tables, code blocks, or other formats, without the need for manual cleanup [2].
Its features cater to a range of needs, from automating documentation to improving accessibility. With 58 neural voices in multiple languages and developer-friendly options like JSON output, TTSBuddy CLI is built for practical, everyday use [2][3]. Plus, the free tier gives you 120 minutes per month - no credit card required [6].
Whether you're a developer managing large-scale projects or an accessibility advocate preparing for the April 24, 2026 WCAG 2.1 Level AA compliance deadline, TTSBuddy CLI offers AI-powered sanitization and cross-device synchronization to tackle challenges that manual workflows can't [3][6]. Start with a simple command and let the tool handle the heavy lifting as you scale up to full automation.
FAQs
How do I use stdin to convert a whole file to speech?
To turn a file into speech using stdin with TTSBuddy, you can pipe the file's content directly into the tool by running a command like this:
cat yourfile.txt | tts [outputfile.mp3]
This command sends the file's content to the tts tool, which converts it into audio and saves the result in the specified output file. Make sure you have tts-cli installed and properly set up with your AWS Polly or Google Cloud Text-to-Speech credentials for it to work.
How do I pick the best voice and language for my text?
TTSBuddy offers an impressive selection of 58 voices in 10 different languages, all accessible through its dashboard. These voices differ in gender, style, and quality, giving you plenty of options to suit your specific needs. You can listen to preview samples to ensure the tone and clarity align with your project.
For English, you’ll find a variety of accents, including American, British, and others, making it simple to pick the one that best complements your content. Whether you're aiming for a professional tone or something more casual, there's a voice that fits perfectly.
How can I retry safely without using extra minutes?
If you want to retry on TTSBuddy without using extra minutes, give it a few minutes before attempting again. This can help avoid unnecessary usage, particularly during times of high server demand or when dealing with lengthy texts. To improve your chances of success, consider removing any unsupported formatting or breaking your text into smaller chunks (around 30,000–50,000 characters). This can make processing smoother and reduce the likelihood of needing retries.