MCP TTS: Agent-Generated Natural Audio

Your agent can do more than write text. It can decide when audio helps, call a speech tool, and return an MP3 or URL on its own.
If I were setting this up today, I’d focus on four things first:
- Connect an MCP-ready agent to a TTS tool like TTSBuddy
- Use the CLI for local desktop setups and the REST API for async server jobs
- Pick Flash voices for fast updates and Standard voices for polished narration
- Add fallback rules so users still get text if audio fails
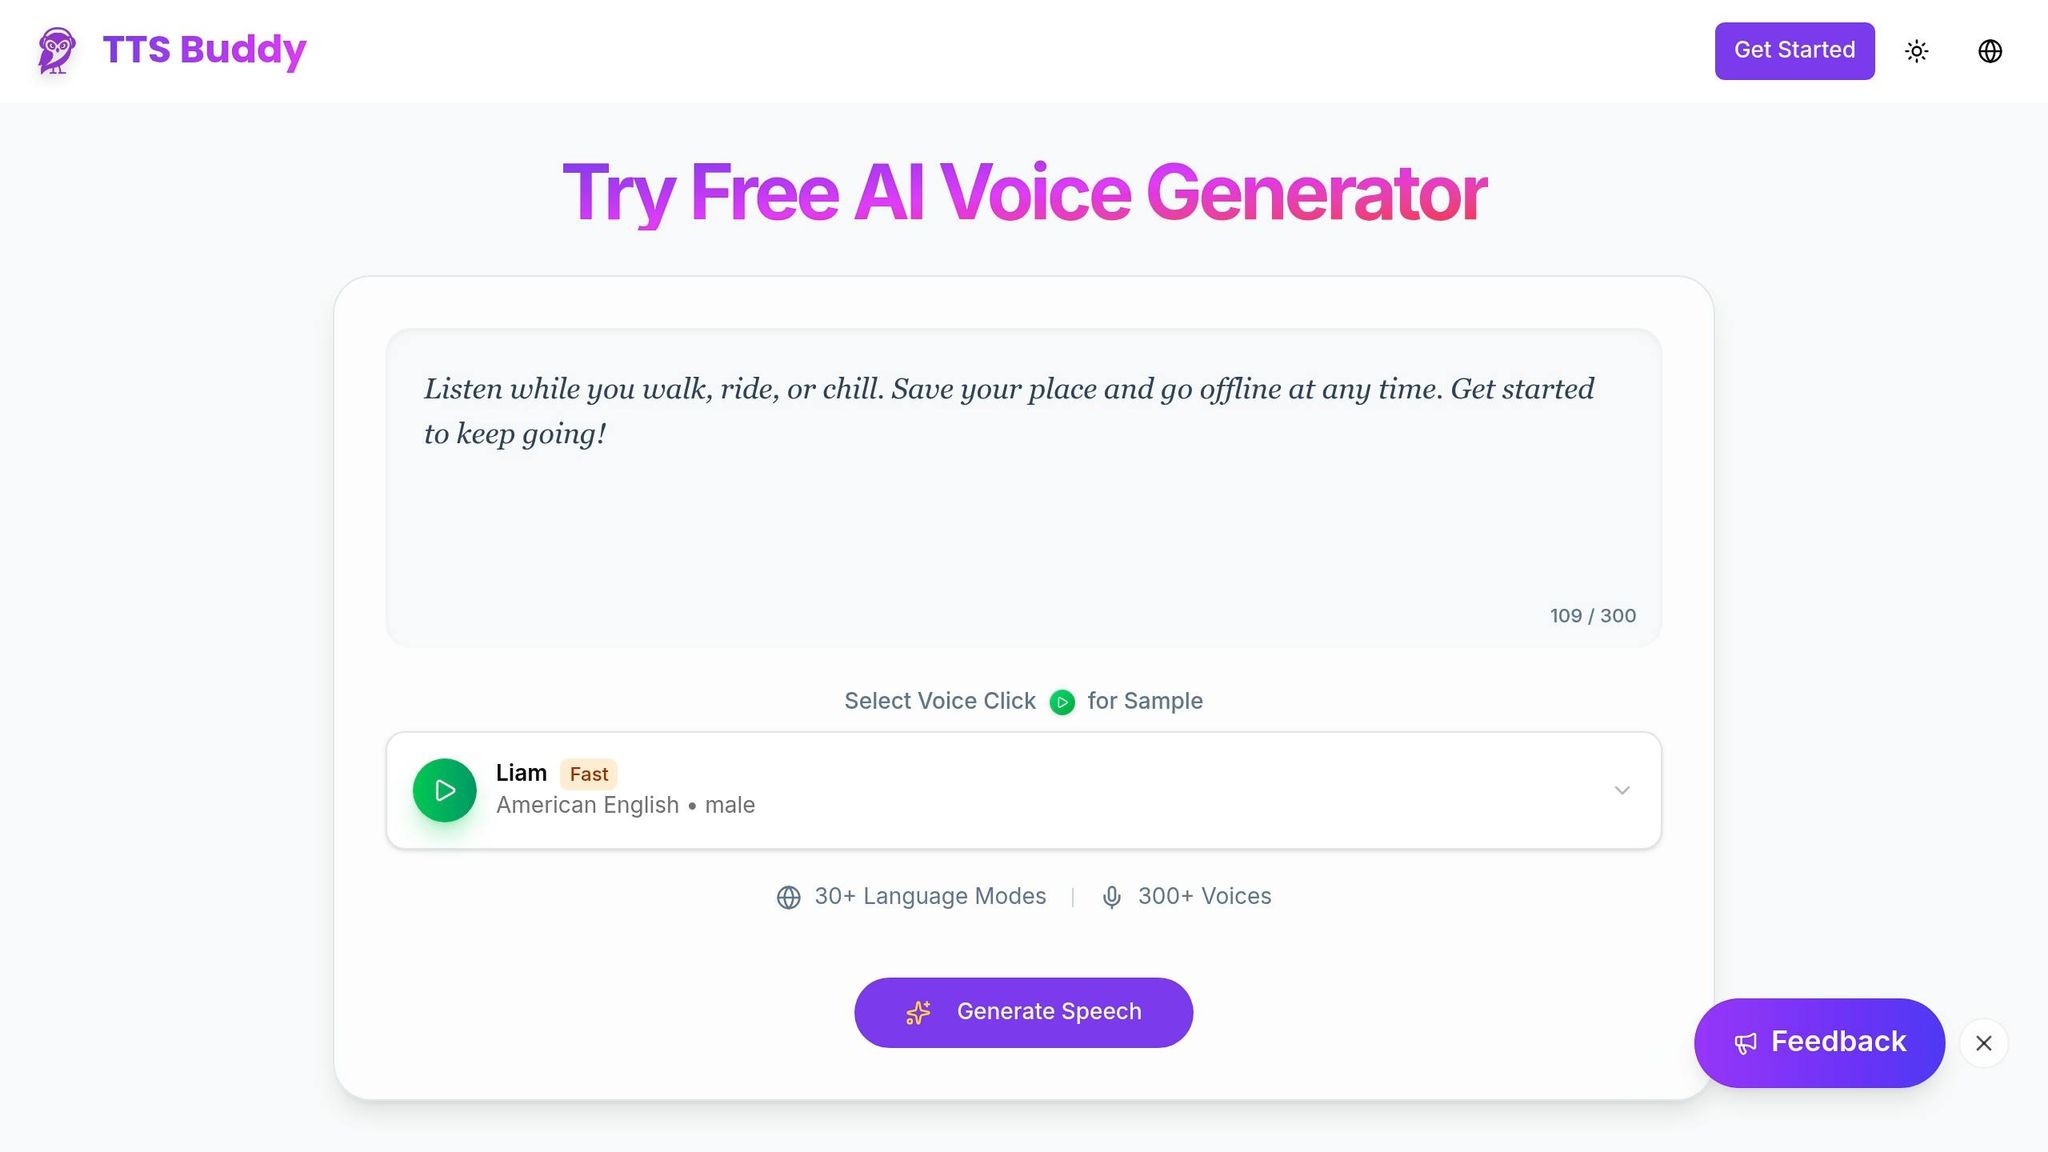
A few numbers stand out right away. TTSBuddy lists 58+ voices, 14+ languages, paid plans from $9.99/month, and API requests up to 500,000 characters. Flash voices are listed at 5–10x faster than Standard voices, which makes them a solid fit for agent-triggered speech.
What this means in plain English: I can have an agent read a README aloud, speak an incident summary, or return voice output for hands-free and access-focused use - without making the user switch tools.
The core setup is simple:
- User asks for spoken output
- Agent calls an MCP tool like
generate_speech - TTSBuddy makes the audio
- The tool returns a file path or hosted link
I’d also keep these rules in place from day one:
- Speak long summaries, alerts, and updates
- Keep short replies and code blocks as text
- Use idempotency keys on retries
- Keep playback sequential so audio does not overlap
- Limit speaking rate to about 0.75x to 1.25x for access-focused cases
Here’s the short version of the setup path: install the CLI, add your TTSB_API_KEY, expose a small MCP tool surface, choose when the agent should speak, and add text fallback if speech breaks.
That’s the whole idea of this guide: give your agent a simple way to turn the right text into natural audio, with rules that keep it usable in daily work and production flows.
Vibe Coding With The Speech MCP Server
::: @iframe https://www.youtube.com/embed/vbD8IHwx-OY
1. What MCP + TTS solves for AI agents
AI agents can already draft text. MCP + TTS adds audio to that same flow.
That means an agent can turn written output into speech without pushing the user into another app or tab. The result is easier hands-free use and audio output that helps with access.
1.1 How MCP acts as the bridge between an agent and audio generation
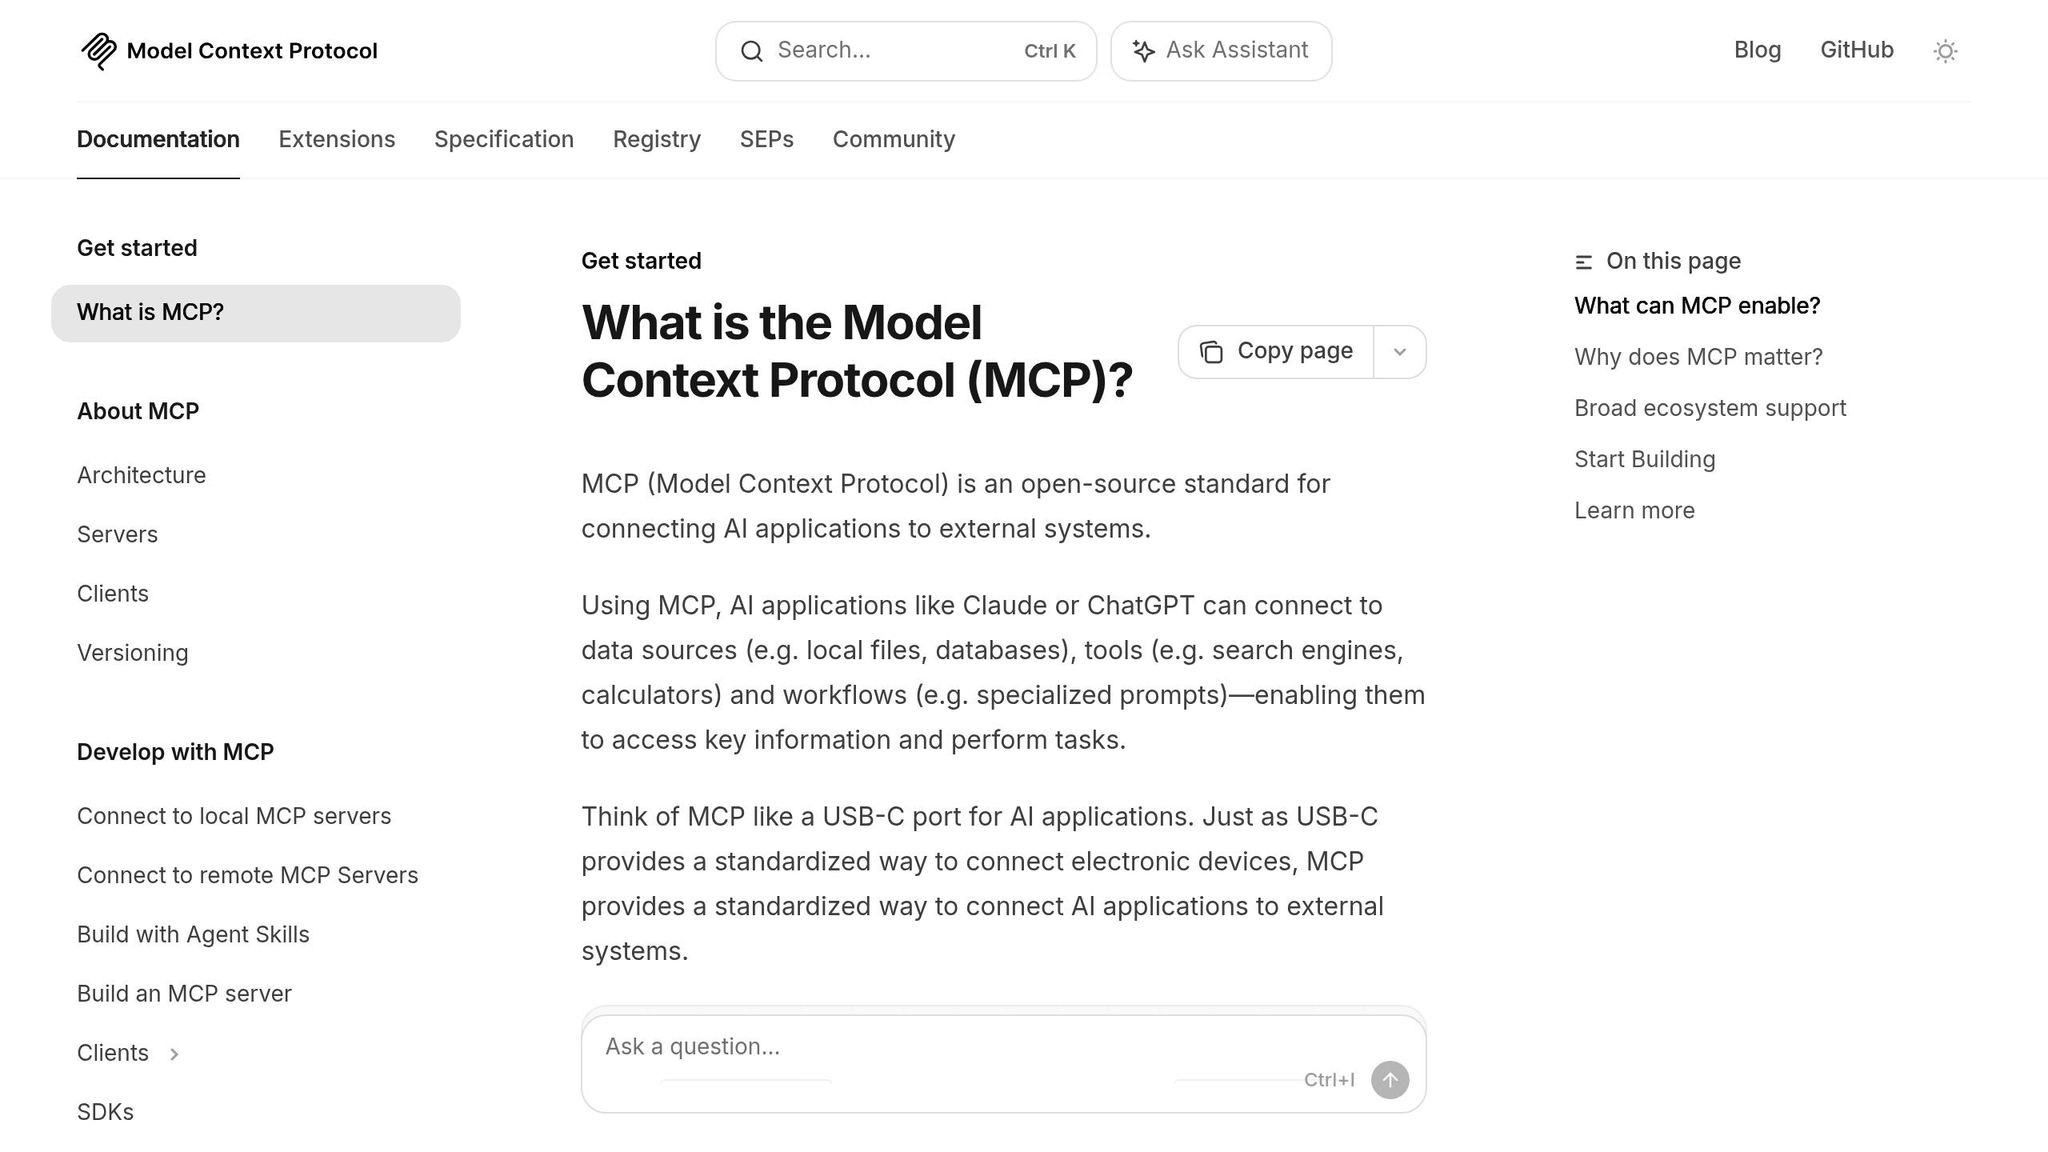
MCP is the protocol layer that lets an agent find and use outside tools. If a user asks the agent to narrate a report, the agent can locate the generate_speech tool exposed by the MCP server, send a structured request with the text, a voice_id, and an output format, and then get audio back through TTSBuddy.
The nice part is consistency. Because MCP uses the same input and output shape each time, the same tool call can run in chat sessions and batch pipelines without extra glue code. TTSBuddy works in both local and remote MCP setups [2].
1.2 What you need before starting setup
Before you write any tool definitions, make sure these five pieces are ready:
| Component | What You Need |
|---|---|
| MCP-compatible agent | Claude Desktop, Cursor, Windsurf, or Cline |
| TTSBuddy access | CLI installed or REST API access |
| API key | An API key from your TTSBuddy dashboard |
| Runtime | Node.js 18+ for local MCP setups |
| OS | macOS, Linux, or Windows with terminal access |
You should also be comfortable with JSON config files and environment variables. The agent runtime reads a config file, such as claude_desktop_config.json, to know which MCP servers to load and which credentials to pass.
TTSBuddy includes API and CLI access, and paid plans start at $9.99/month [2]. Once those parts are in place, you can move on to installing the CLI and making your first audio file.
2. Install and configure TTSBuddy for agent-triggered audio
2.1 Install the CLI and generate your first audio file
TTSBuddy ships as a standalone binary, so you don't need any extra runtime to use the CLI. That binary is the audio engine your agent will call through MCP.
You can install TTSBuddy with Homebrew, a direct binary download, or go install.
Once the binary is on your PATH, make sure it's available:
ttsbuddy --help
Then create a short test file to check that everything is working:
ttsbuddy speak --text "Agent audio is ready." --voice en-us-flash --output ./test.mp3
For playback, use the tool that fits your system:
- On macOS, use
afplay - On Linux,
ffplayormpvworks well - On Windows, use PowerShell or your local media player
If that command runs and produces audio, you're set to move on to API keys and voice defaults.
2.2 Set up API keys, pick voices, and choose a plan
Every TTSBuddy account includes an API key with the ttsb_ prefix. Store it as an environment variable so the CLI and your MCP server can read it without hardcoding credentials. It's a small setup step, but it saves headaches later.
On macOS or Linux using bash or zsh, add this to your ~/.bashrc or ~/.zshrc:
export TTSB_API_KEY="ttsb_your_key_here"
On Windows in PowerShell:
$env:TTSB_API_KEY = "ttsb_your_key_here"
When it comes to voices, the split is simple. Use Standard voices when you want polished narration. Use Flash voices when speed matters more. Flash voices generate audio 5–10x faster, which makes them a strong default for agent-triggered jobs. Standard is a better fit for final narration or audio meant for publishing.
| Standard Voices | Flash Voices | |
|---|---|---|
| Speed | Normal | 5–10x faster |
| Quality | High-fidelity, natural nuance | Clear, efficient synthesis |
| Best for | Narration, published audio | Batch jobs, status updates, real-time chat |
TTSBuddy supports 58+ neural voices across 14+ languages, including American and British English accents. For most U.S.-based developer workflows, an American English voice in Flash mode handles day-to-day agent-triggered tasks well.
Here’s the current plan breakdown:
| Plan | Price | TTS Minutes | Downloads | Custom Voices |
|---|---|---|---|---|
| Free | $0/month | 120/month | 30/month | No |
| Pro | $9.99/month | 1,200/month | Unlimited | No |
| Ultimate | $49.99/month | Unlimited | Unlimited | Yes |
For automation, TTSBuddy's REST API accepts up to 500,000 characters per request and supports idempotent calls. That's helpful in production workflows, especially when retries happen and you don't want duplicate output.
With the CLI working, the API key set, and a default voice in mind, the next move is to expose TTSBuddy through an MCP tool your agent can call.
3. Define MCP tools that call TTSBuddy
Once TTSBuddy is connected to your agent as an MCP tool, the agent can create audio when needed. That’s useful for reading docs out loud, narrating reports, or giving people a voice-first way to consume content. For desktop agents, the local CLI route is usually the easier path. For remote agents or jobs that may run for a while, REST is the better fit.
3.1 Build a local MCP tool around the TTSBuddy CLI
A local MCP tool runs as a process on your machine and connects over stdio. That makes it a good match for desktop clients like Claude Desktop or Cursor.
Add TTSBuddy under mcpServers in claude_desktop_config.json or ~/.cursor/mcp.json:
{
  "mcpServers": {
    "ttsbuddy": {
      "command": "ttsbuddy",
      "args": ["--json"],
      "env": {
        "TTSB_API_KEY": "ttsb_your_key_here"
      }
    }
  }
}
Keep the tool surface small. Expose only text, voice_id, output_format, and speaking_rate. If the agent needs to save audio on your machine, add an output directory flag like --output-dir.
If you want quieter runs, --no-play or --suppress-speaking-output will stop the CLI from echoing the speech text back into the conversation [4]. That small change can save you a lot of noise.
The tool should return JSON with the file path or audio URL.
If the agent runs remotely or needs retry logic, switch to the async API pattern below.
3.2 Build a REST-based MCP tool for async jobs
For server-side agents, use TTSBuddy’s REST API with async jobs. This works well for long reports, summaries, and incident updates.
At minimum, the async tool schema should include text, voice_id, delivery_mode: "async", and an idempotency_key so retries stay safe [2]. After submission, poll get_job_status with the returned job_id until the job finishes.
{
  "text": "Incident summary for June 30, 2026...",
  "voice_id": "en-us-flash",
  "delivery_mode": "async",
  "idempotency_key": "incident-summary-20260630"
}
TTSBuddy applies rate limits to both submissions and status checks, so don’t hammer the API. Use a simple polling loop with a delay between requests: 1 submission per minute and 30 status checks per minute [2]. If a job gets interrupted, Ctrl+C prints the job ID, which lets you resume polling later without sending the same job again.
For local desktop tools, the CLI setup above is usually faster and easier.
3.3 Keep API keys and logs secure in agent environments
Put TTSB_API_KEY in the MCP config env block, not in prompts, shell commands, or logs. That keeps the key out of places it doesn’t belong.
To keep spoken text out of logs and chat output, use --suppress-speaking-output or MCP_TTS_SUPPRESS_SPEAKING_OUTPUT [4].
Here’s a quick side-by-side view:
| CLI-Based MCP Tool | REST-Based MCP Tool | |
|---|---|---|
| Latency | Lower (local process) | Higher (network overhead) |
| Deployment | Requires local runtime | No local install needed |
| Reliability | Depends on local system | Depends on API uptime |
| Auth method | Env vars / local config | API key / HTTP header |
| Best for | Desktop IDEs (Claude Desktop, Cursor) | Server-side agents, cloud pipelines |
4. Build workflows for narration and accessibility
Once your MCP tools are connected, the next job is simple: decide what the agent should say and when speech makes sense.
Speech works best when listening is easier than reading. Think docs, reports, and voice-first access. A good path is to start with documents, then move into summaries and live updates.
4.1 Read Markdown, docs, and README files aloud
Markdown is great on screen. It's not great in someone's ears.
Raw syntax like ##, [link text](url), and triple-backtick code blocks shouldn't be spoken out loud. TTSBuddy takes care of this for you. Its built-in Markdown preprocessing removes headings, links, images, and code blocks before the text reaches the TTS engine [5]. So the agent doesn't have to clean up the file by hand.
For long READMEs or docs, don't read the whole thing word for word unless you need to. Summarize first, then speak the summary. If the structure matters, have the agent say it plainly:
Section one: Introduction. Section two: Configuration.
That keeps the listener oriented without forcing them to hear raw Markdown syntax.
If the agent may queue more than one file, keep MCP_TTS_ALLOW_CONCURRENT set to false. That makes playback sequential, so one file finishes before the next starts [4]. The same summarize-then-speak flow also works well for reports and incident updates.
4.2 Narrate reports, summaries, and incident updates
A simple two-step flow works well here: summarize first, then speak.
The agent can pull a changelog, incident report, or lecture notes, trim it down, pick an American English voice, and send the result to TTSBuddy. For time-sensitive updates, use Flash voices.
If the listener needs fast feedback, delivery_mode="stream" can begin playback before the job is done [2]. For longer reports, generate the audio asynchronously and send it through a secure link after it finishes [1][2].
If the report includes sensitive material, don't expose a raw audio URL. Put access controls in front of it instead. And if speech fails, return text so the user still gets the information.
Speaking rate should stay in the listener's hands. A technical incident report at 1.2x can be easier to review fast. Someone using the system for accessibility may prefer 0.8x for clarity [4][6]. Pass speaking_rate in your MCP tool schema so the agent can show it as a user setting.
4.3 Add fallback behavior and accessibility checks
Accessibility flows need a backup plan.
If audio fails, return text right away. The usual pattern is provider chaining: try TTS first, fall back to the system voice, and then return the raw text transcript as a last resort [4]. That way, the listener always gets something, even if it isn't the first-choice voice.
Two checks matter most in accessibility-focused setups:
- Make sure the audio job is finished before telling the user it's ready.
- Make sure the speaking rate stays within an intelligible range.
Use 0.75x to 1.25x for clarity. Save broader ranges for non-accessibility cases [4].
Here's how the three main workflow types stack up:
| Workflow | Setup | Value | Best-Fit Audience |
|---|---|---|---|
| Markdown Narration | Medium (preprocessing needed) | High - converts docs to audio | Developers, Maintainers |
| Report/Summary Narration | Low - direct summary chain | Medium - hands-free review | Students, Commuters |
| Voice-first accessibility | High - requires hooks/rules | High - real-time voice feedback | Accessibility users, Power users |
5. Run MCP + TTS reliably in production and daily use
5.1 Control when the agent should generate audio
Once the agent can speak, the next step is deciding when it should. In production, not every reply needs audio. Short responses are often better as plain text because they skip extra API calls and cut delay.
Audio works best for things like long summaries, status updates, and urgent warnings. Code blocks and short confirmations are usually cleaner in text. A simple way to handle this is to add a message_type field, such as question, update, info, or warning, so the tool only speaks when audio helps.
For hands-free coding, a stop hook can keep things tight. Have it read only the first sentence out loud, then return the rest as text.
5.2 Improve speed, retries, and observability
After you gate speech well, reliability becomes the next focus. Use Flash voices for high-volume or time-sensitive jobs. Also, keep playback non-blocking so the tool can return as soon as synthesis begins while the audio keeps playing in the background.
A few production habits make a big difference:
- Reuse the same idempotency key across retries [2].
- Name output files with a
{timestamp}_{hash}.{ext}pattern to avoid collisions in shared setups. - Set
tool_timeouthigh enough for synthesis latency; 120,000 ms is a safe ceiling [3].
Logging matters too. Structured output is much easier to send into monitoring systems across dev, staging, and production. And structured error codes such as VALIDATION_ERROR or INSUFFICIENT_CREDITS let the agent react in code instead of failing quietly. That keeps audio timely and clear for people who rely on it [2].
5.3 Key takeaways and next steps
MCP handles the tool interface. TTSBuddy generates the audio. CLI calls fit local scripts and day-to-day developer work, while the REST API fits async jobs and programmatic workflows.
Use these defaults as a launch checklist:
| Practice | Reliability Impact | Accessibility Value |
|---|---|---|
| Trigger rules by message type | Reduces unnecessary API calls | Keeps audio meaningful and non-intrusive |
| Flash voices for batch jobs | Faster generation | Faster feedback for time-sensitive updates |
| Idempotency keys on retries | Prevents duplicate billing and files [2] | Consistent delivery of critical messages |
| Sequential playback | Prevents overlapping audio streams [4] | Keeps speech intelligible for the listener |
| Structured errors | Automated fallback logic [2] | Preserves user feedback if audio fails |
| Fixed voice and format profiles | Eliminates LLM parameter errors | Maintains a consistent voice persona |
Before launch, run tts-mcp --doctor to check your API key, voice profiles, and local playback binary [3].
FAQs
How do I decide when my agent should speak instead of reply in text?
Choose based on how your team works and how your setup is configured. Use audio for status updates, longer summaries, or critical alerts. Keep routine text replies silent so they don’t add noise.
Many systems also offer different voice modes, from minimal to full. Switch to audio when you need hands-free access, narrated reports, or a more conversational experience.
Should I use the CLI or REST API for my MCP TTS setup?
Use the CLI if you work in local development, desktop clients, or standard developer workflows and want simple setup with direct control over local audio playback.
Use the REST API for server-side agents, automated pipelines, and backend integrations that need a stateless, scalable connection that doesn’t depend on a local session.
What should happen if audio generation fails?
If audio generation fails, use get_job_status to check whether the job is pending, completed, or failed.
For troubleshooting, run tts-mcp --doctor. It checks authentication, profile, voice, and player settings.
If playback fails, verify your system’s player binary or update player_command.
If timeouts keep happening, increase the client’s tool_timeout setting.